SSH is well established protocol for securely accessing remote systems over the network for administration and devops purposes. A widely deployed OpenSSH software suite implements this protocol. But there is more to the SSH technology than reaching a remote shell over ssh(1) or copying files via scp(1)/sftp(1). We will go through some lesser known, somewhat advanced tricks and use cases that could be valuable in your daily work.
SSH escape sequences
Most people don’t know that ssh(1) provides somewhat secret control sequences
that can be used to manage in-progress connections. Make sure the last keystroke
you have typed is Enter, then type the tilde character and question mark (~?).
You will be given the following message listing other sequences you can do in a
similar way:
Supported escape sequences:
 ~.   - terminate connection (and any multiplexed sessions)
 ~B   - send a BREAK to the remote system
 ~C   - open a command line
 ~R   - request rekey
 ~V/v - decrease/increase verbosity (LogLevel)
 ~^Z  - suspend ssh
 ~#   - list forwarded connections
 ~&   - background ssh (when waiting for connections to terminate)
 ~?   - this message
 ~~   - send the escape character by typing it twice
(Note that escapes are only recognized immediately after newline.)
~C gives you a secondary command prompt that can be used to manage port
forwarding/tunneling (more on this later).
Single command through SSH
Sometimes you want to run just a single OS shell command via SSH connection
and get the output. That can be done with a standard SSH client by launching it
with -t and passing your command as last argument:
$ ssh -t [email protected] "date -R"
Sun, 14 Jan 2024 16:52:37 +0000
Connection to 167.172.24.25 closed.
2FA on SSH login
Generally speaking, it is a recommended practice to use SSH keys for authentication and to avoid relying on passwords. Passwordless SSH effectively prevents any successful brute force attack that could be done over the network. However, if for some reason you still want to use SSH interface with password you can make it more secure by adding Two Factor Authentication step. We will go through the steps that can be taken to set it up on Debian 12 system.
Make sure your APT cache is up to date and install libpam-google-authenticator
package through APT:
# apt-get install libpam-google-authenticator
Now we need to edit /etc/pam.d/sshd file to add the following line there:
auth required pam_google_authenticator.so
Also edit /etc/ssh/sshd_config to make sure there’s following lines there
(watch out for conflicting directives - you may need to change no to yes on
some lines):
UsePAM yes
ChallengeResponseAuthentication yes
KbdInteractiveAuthentication yes
AuthenticationMethods keyboard-interactive
Restart the sshd daemon to force it to read the updated config file:
# systemctl restart sshd.service
In your mobile device install Google Authenticator or a compatible app (e.g. FreeOTP.
Now we’re ready to run the google-authenticator tool, answer some questions and
follow the instructions:
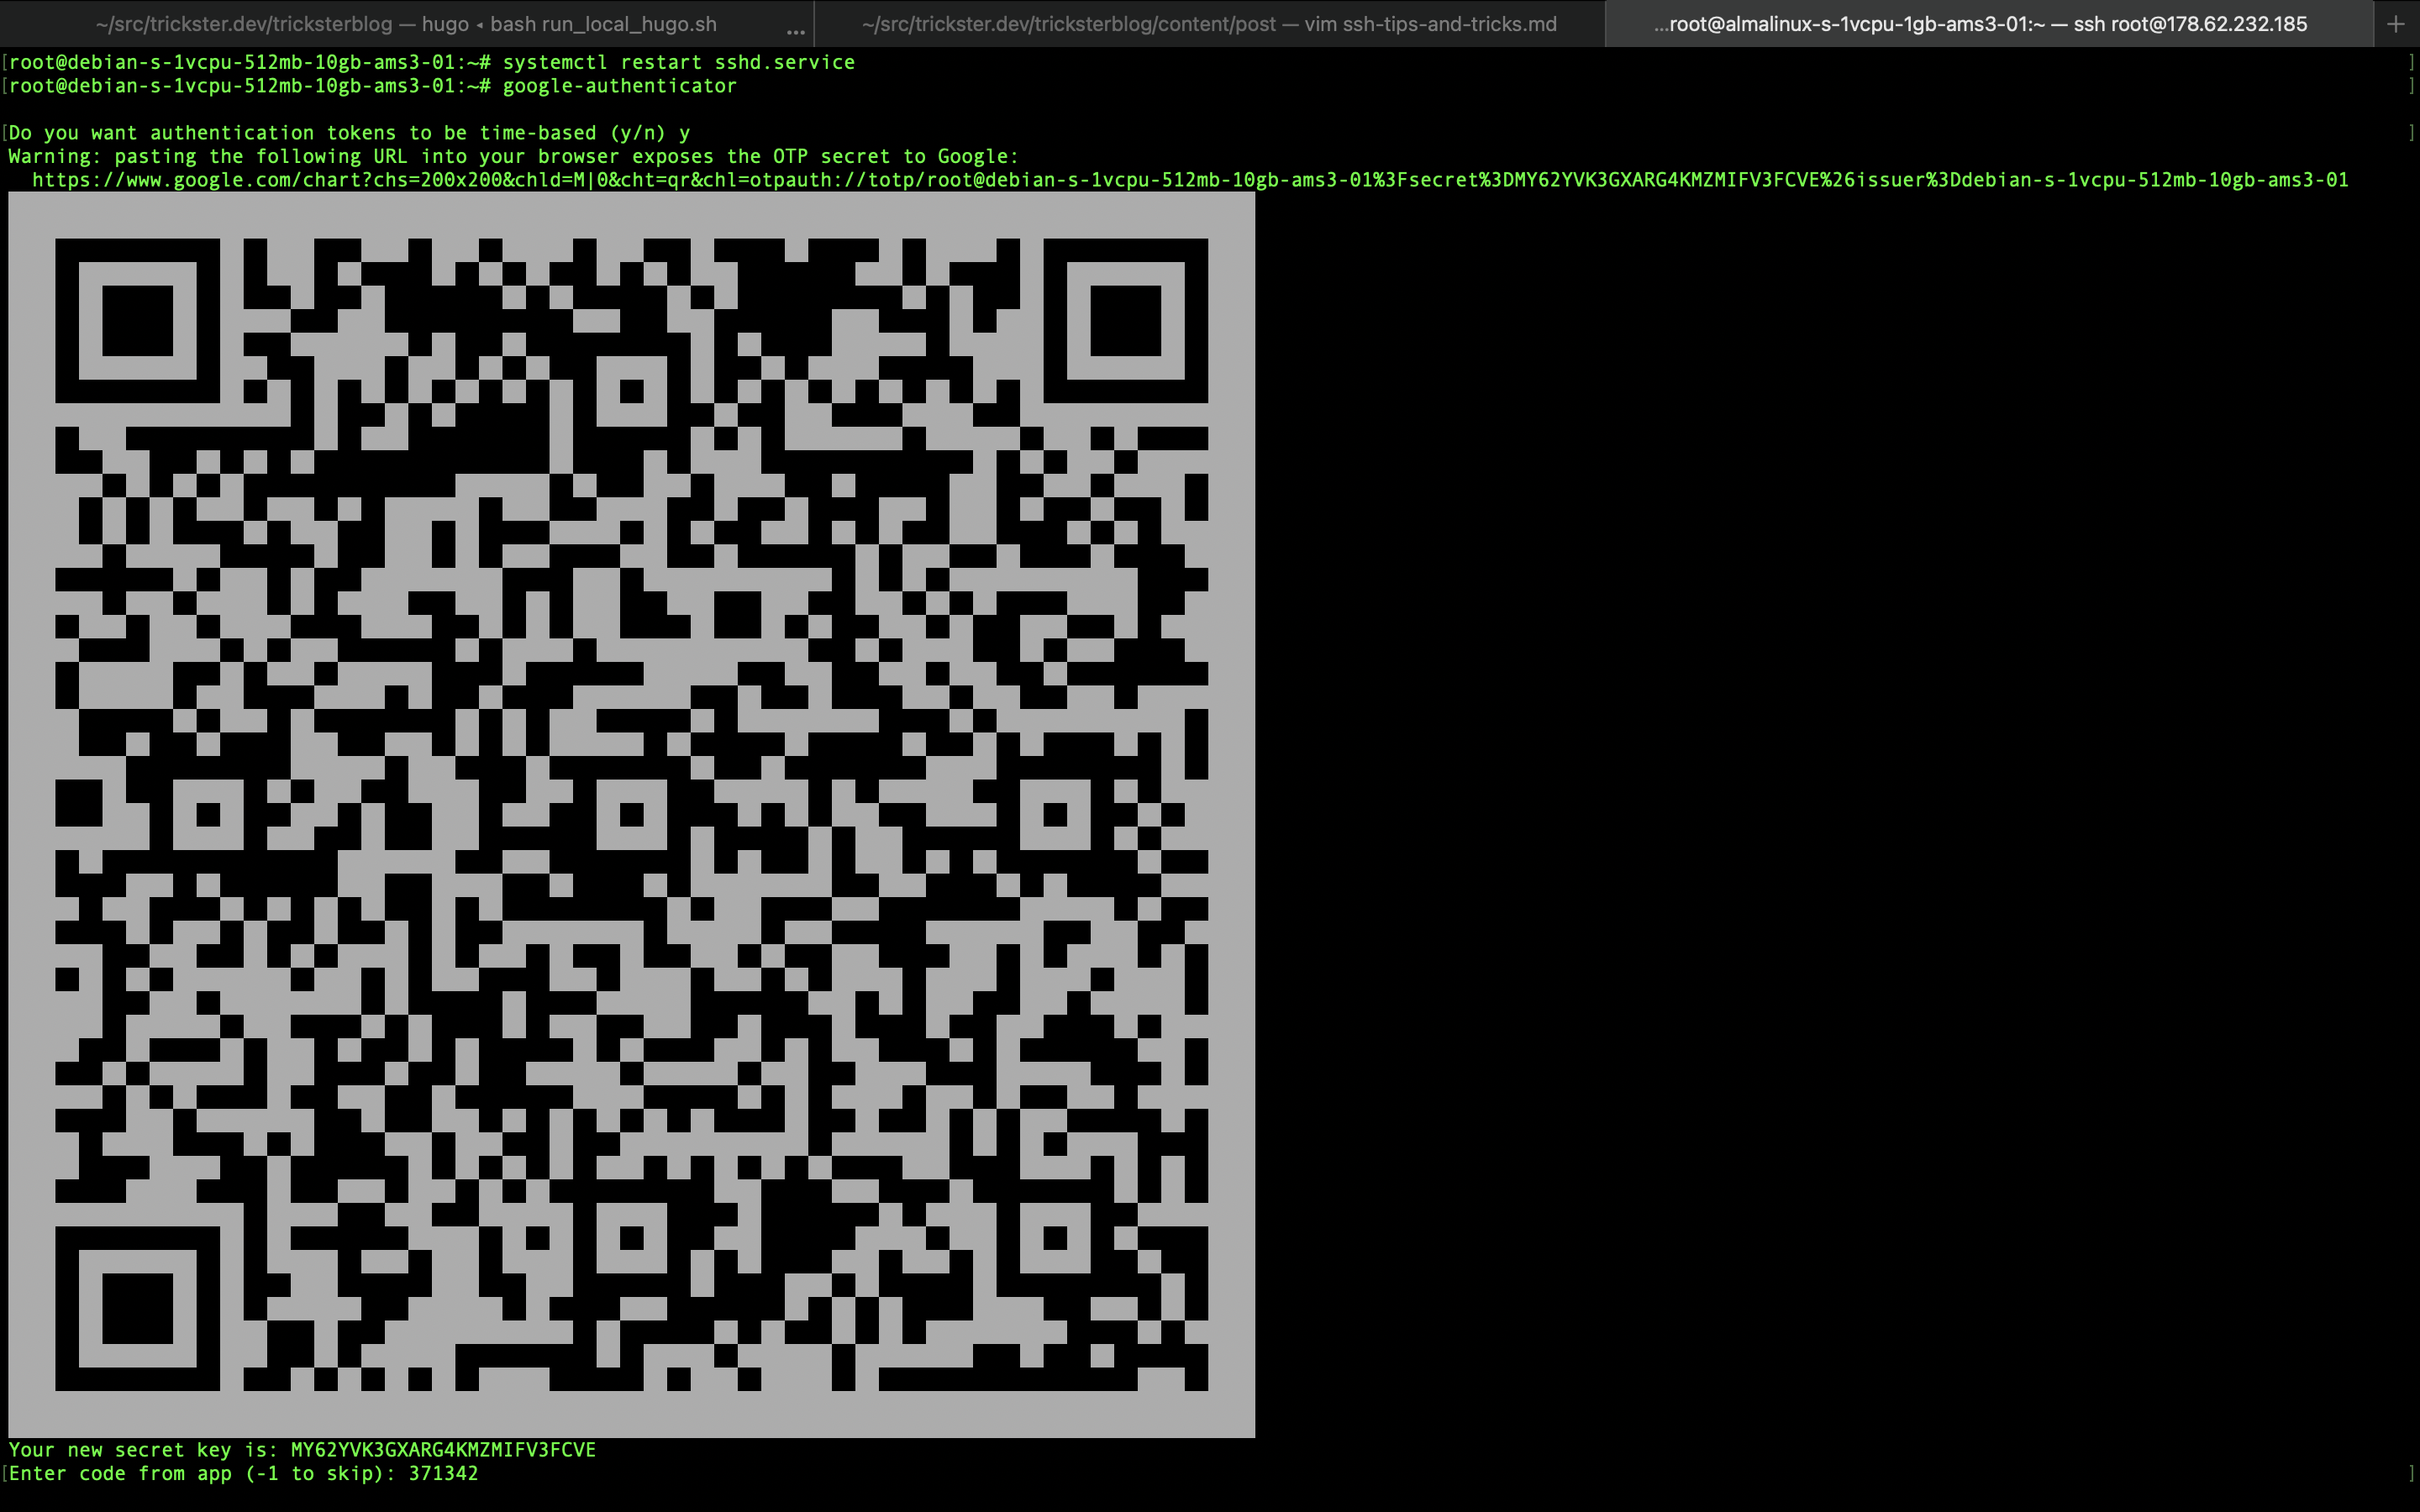
# google-authenticator

Do you want authentication tokens to be time-based (y/n) y
Warning: pasting the following URL into your browser exposes the OTP secret to Google:
  https://www.google.com/chart?chs=200x200&chld=M|0&cht=qr&chl=otpauth://totp/root@debian-s-1vcpu-512mb-10gb-ams3-01%3Fsecret%3D[REDACTED]%26issuer%3Ddebian-s-1vcpu-512mb-10gb-ams3-01

[REDACTED]

Your new secret key is: [REDACTED]
Enter code from app (-1 to skip): 371342
Code confirmed
Your emergency scratch codes are:
  [REDACTED]

Do you want me to update your "/root/.google_authenticator" file? (y/n) y

Do you want to disallow multiple uses of the same authentication
token? This restricts you to one login about every 30s, but it increases
your chances to notice or even prevent man-in-the-middle attacks (y/n) y

By default, a new token is generated every 30 seconds by the mobile app.
In order to compensate for possible time-skew between the client and the server,
we allow an extra token before and after the current time. This allows for a
time skew of up to 30 seconds between authentication server and client. If you
experience problems with poor time synchronization, you can increase the window
from its default size of 3 permitted codes (one previous code, the current
code, the next code) to 17 permitted codes (the 8 previous codes, the current
code, and the 8 next codes). This will permit for a time skew of up to 4 minutes
between client and server.
Do you want to do so? (y/n) y

If the computer that you are logging into isn't hardened against brute-force
login attempts, you can enable rate-limiting for the authentication module.
By default, this limits attackers to no more than 3 login attempts every 30s.
Do you want to enable rate-limiting? (y/n) y
We were given the option to either scan the QR code rendered on the terminal in colored blocks or to have it displayed in the browser.
Once we do all of this, we will be asked both one time key and the password when logging in via SSH:
$ ssh [email protected]
([email protected]) Verification code:
([email protected]) Password:
SSH tunneling with -L
Sometimes you have some networked software running on remote system with listener socket being bound to localhost or otherwise restricted network interface.
One example is the situation in
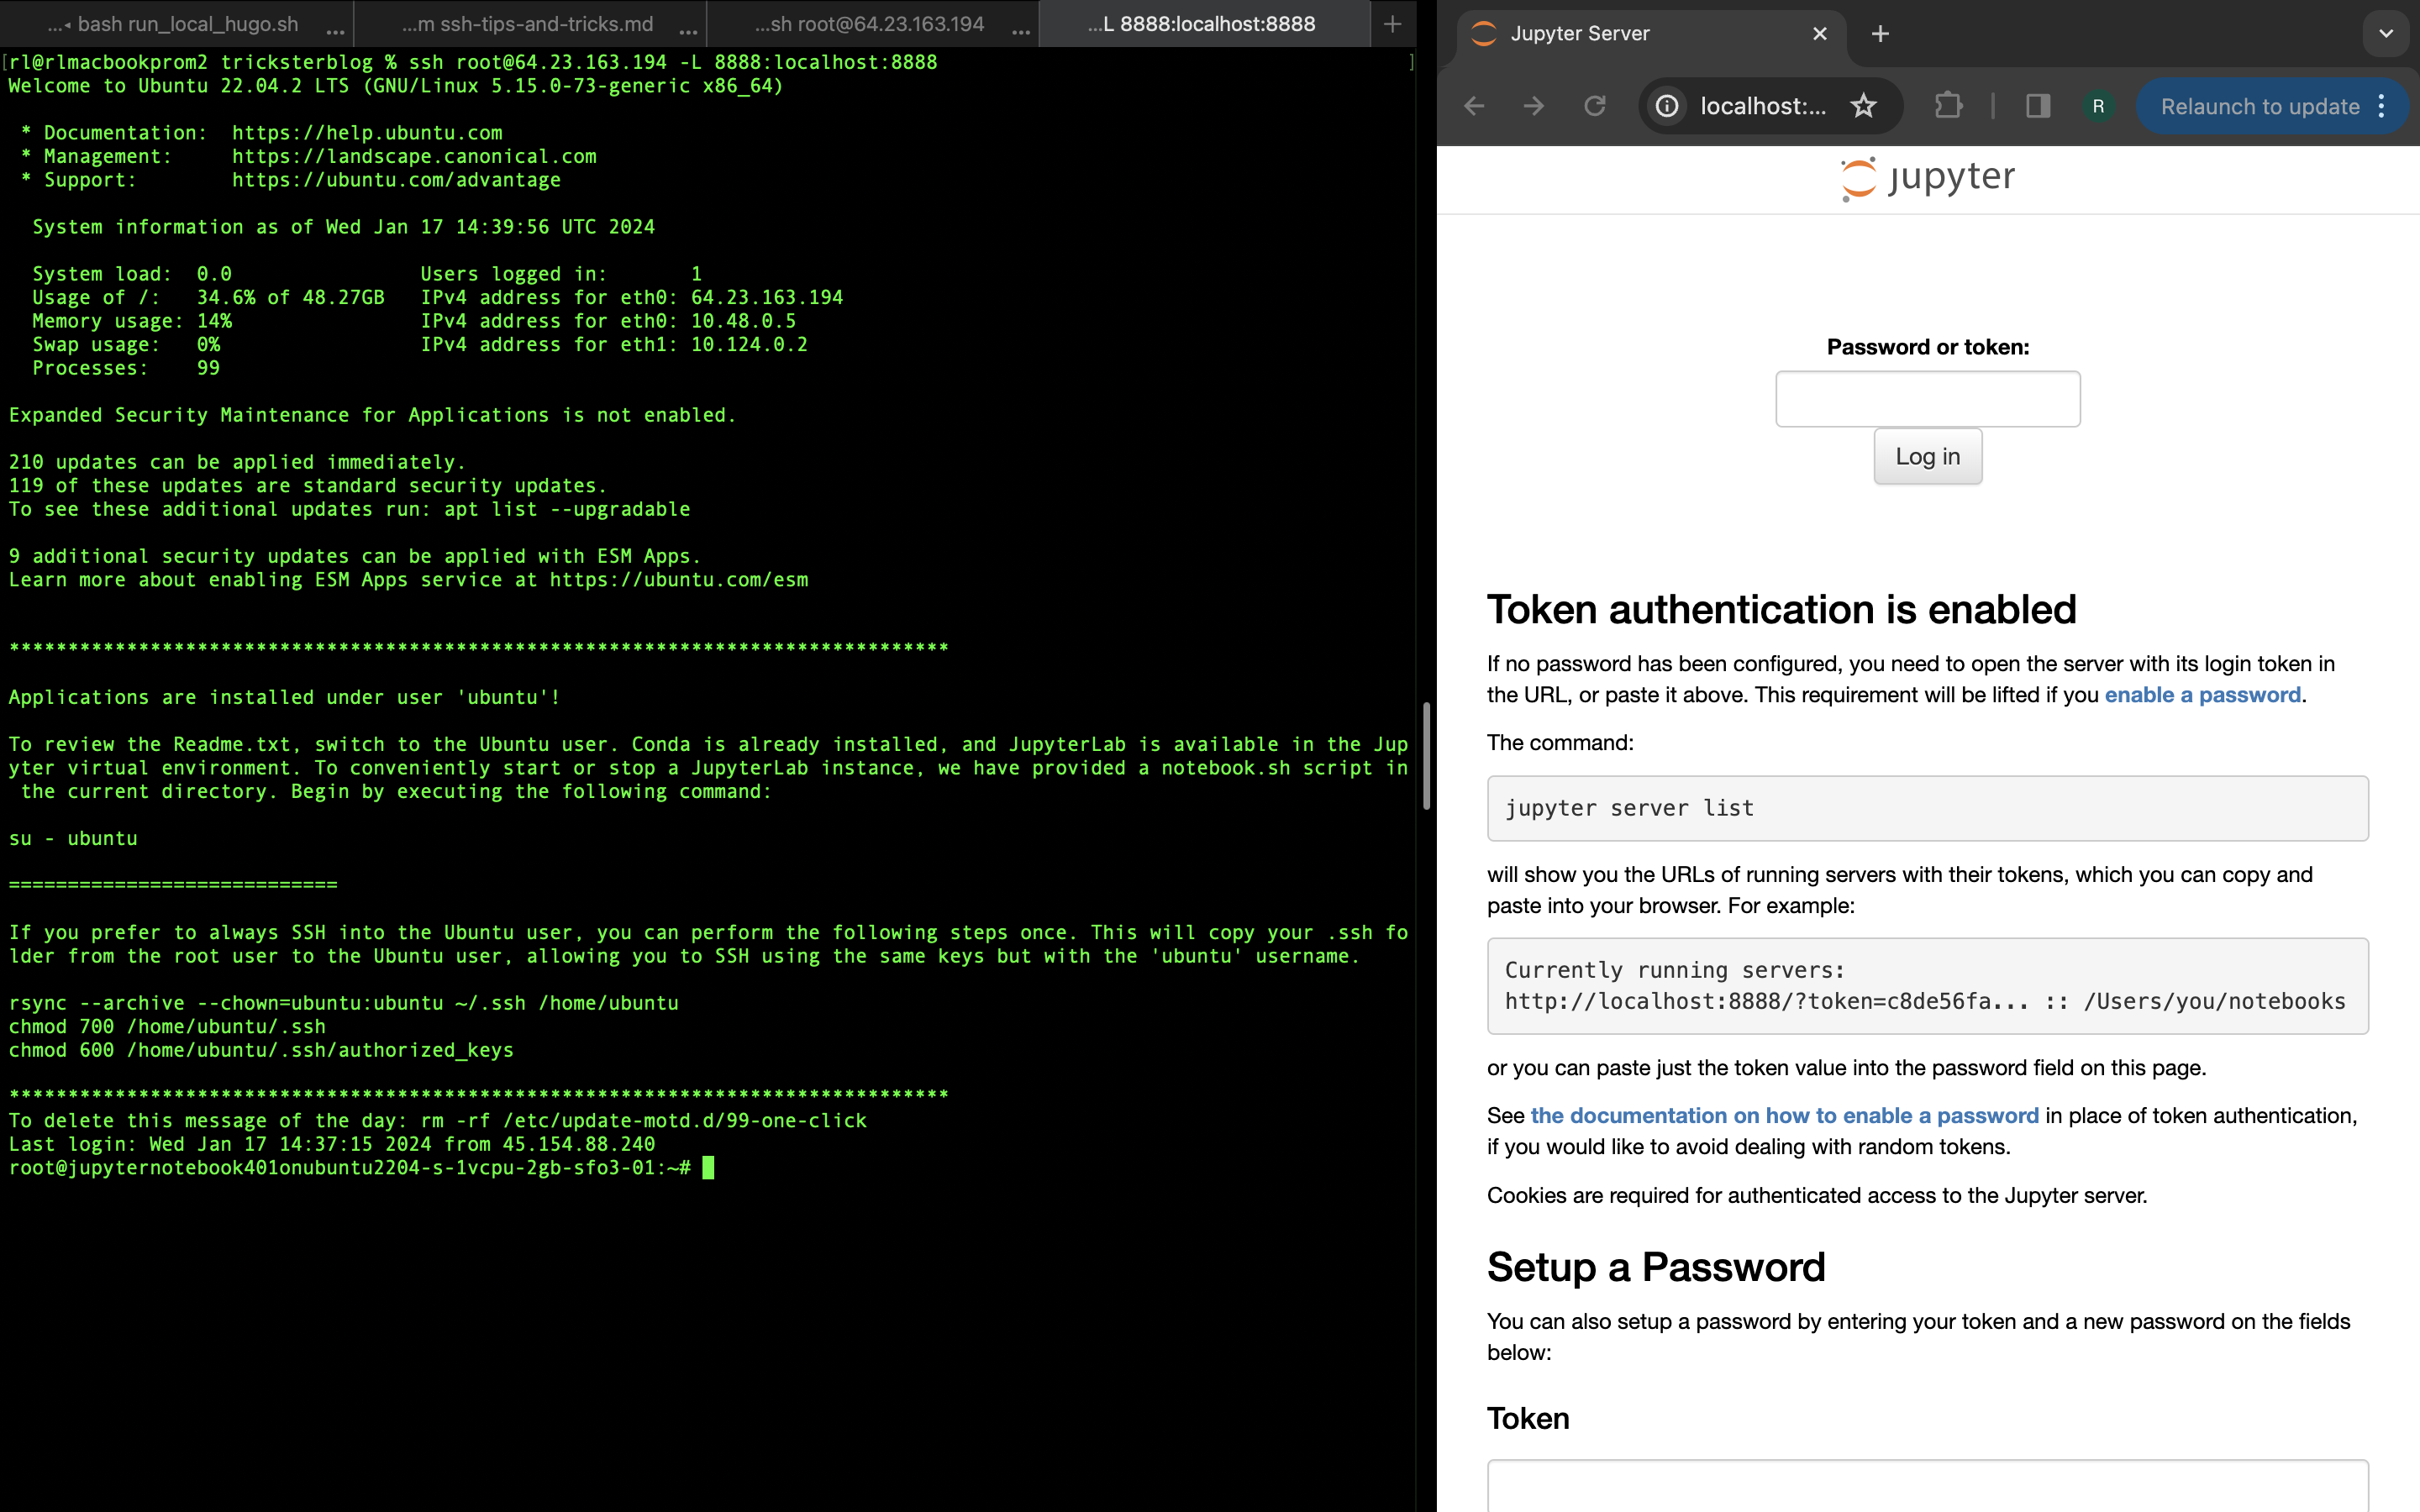
Jupyter notebook VPS
on Digital Ocean. Once you instantiate the VPS image you can run notebook.sh
script in the home directory of ubuntu user to start the Jupyter lab webapp
which will bind to localhost for security purposes. However, we are instructed
to use ssh -L to access it through SSH tunnel:
$ bash notebook.sh start
JupyterLab started.
See the logs under ~/notebook.log.

Use 'notebook list' to view the URL.

Remember that you need to create a tunnel to access the notebook from your localhost.
On another terminal, use ssh root@<ip> -L 8888:localhost:8888 to create the tunnel. Then you can access the notebook from your local browser.
Running the provided command on client-side shell gives another SSH session with the added benefit of Jupyter web app being available locally at port 8888.
As another example, a Linux server running LAMP stack may allow HTTP and SSH access on public network, but make MySQL listen for incoming connections on 127.0.0.1. That poses an inconvenience if we want to connect to the MySQL server over the network. In cases like this, SSH tunneling - i.e. wrapping non-SSH traffic in SSH connection can be quite useful.
SSH connection as local SOCKS proxy
SSH tunneling enables us to access a single network daemon that otherwise would not be reached. But what if we want to reach everything that can be reached from the server? In that case we can set up SSH connection as local SOCKS proxy with command like:
$ ssh -D 1080 [email protected]
Here 1080 is the TCP port on local network interface we want to open as SOCKS proxy.
By using curl, we can verify that it works as intended:
$ curl -s -x socks5://localhost:1080 https://lumtest.com/myip.json | jq
{
  "ip": "64.23.163.194",
  "country": "US",
  "asn": {
    "asnum": 14061,
    "org_name": "DIGITALOCEAN-ASN"
  },
  "geo": {
    "city": "Santa Clara",
    "region": "CA",
    "region_name": "California",
    "postal_code": "95054",
    "latitude": 37.3931,
    "longitude": -121.962,
    "tz": "America/Los_Angeles",
    "lum_city": "santaclara",
    "lum_region": "ca"
  }
}
This can also done via the “secret” SSH command line (~C) during an in-progress
SSH session:
ssh> -D 1080
Forwarding port.
SSH server behind NAT via Tor Onion Service
Tor is a well-known distributed system for anonymous communications that allows for a convenient secondary use case: NAT traversal via Onion Services. Typically this is done to expose a website or web app to be reachable via Tor Browser, but since Tor works at TCP connection level nothing is stopping us from setting up Onion Service for some TCP-based application other than HTTP - i.e. we can also use it with SSH.
For example, on Debian 12 server we could do as follows.
We start by installing Tor:
# apt-get update
# apt-get install -y tor
Let us create a directory somewhere in file system to store the cryptographic keys and metadata:
# mkdir /var/onionservice
Limit the access to this directory so that only owner can fully access it:
# chmod 700 /var/onionservice/
Edit your torrc file (on Debian it’s available at /etc/tor/torrc) to add the following directives:
HiddenServiceDir /var/onionservice
HiddenServicePort 22 127.0.0.1:22
Restart or launch the tor daemon (e.g systemctl restart tor). If all is good
the Onion Service directory will have some files, including the one named
hostname:
# cat /var/onionservice/hostname
iyqklkzlvieyehybr44yqyfqavcvhepdltumngxfje7x36ewx2li3hyd.onion
Now we need to tunnel the SSH connection over Tor at client side. This can be done via program named torsocks:
$ torsocks ssh root@iyqklkzlvieyehybr44yqyfqavcvhepdltumngxfje7x36ewx2li3hyd.onion
The caveat of this approach it that the extra latency Tor introduces can make the shell work very laggy and slow. This can be particulary bad for touch typers who rely on visual feedback to fix typos as they happen. A possible improvement is making your Onion Service use only one hop into Tor network by adding the following directive into torrc:
HiddenServiceNonAnonymousMode 1
HiddenServiceSingleHopMode 1
However it must be noted that this essentially removes the server hiding aspect (which is fine if NAT traversal is all you need). This is also incompatible with SOCKS interface being open on Tor instance at your server.
Torsocks is available via package managers on some Linux/Unix systems (e.g. Debian Linux, macOS).
Mounting directory subtree via sshfs
SSHFS is a program that mounts a remote file system subtree to local one over SFTP connection. It is part of FUSE project that ships a framework for developing custom file systems.
The following is assuming you are using Debian 12 on client side of the connection.
Install sshfs via APT:
# apt-get update
# apt-get install -y sshfs
On client side create the new directory to be used via sshfs:
$ mkdir /mnt/droplet
To mount a remote FS subtree via sshfs now we can run a command like:
$ sshfs [email protected]:/etc /mnt/droplet
When we no longer need access to remove directory we can use umount(1) to unmount the directory we have created:
$ umount /mnt/droplet
SSHFS is mostly supported on Linux. For other platforms there are some alternative solutions:
- macFUSE project ships it’s own version of sshfs for macOS.
- sshfs-win is somewhat limited port of sshfs for Windows that relies on WinFsp - an equivalent of FUSE for Windows.
Your mileage may vary.
Using SSH programmatically via Paramiko/Fabric
Paramiko is a Python module that implements SSH protocol. It provides a somewhat low level API for automating SSH tasks. For example, connecting to remote SSH server and running a command can be done in few lines of code:
#!/usr/bin/python3

import sys

import paramiko


def main():
    if len(sys.argv) != 5:
        print("{} <hostname> <username> <password> <command>".format(sys.argv[0]))
        return

    hostname = sys.argv[1]
    username = sys.argv[2]
    password = sys.argv[3]
    command = sys.argv[4]

    client = paramiko.client.SSHClient()

    client.set_missing_host_key_policy(paramiko.AutoAddPolicy())
    client.connect(hostname, username=username, password=password)

    _, stdout, _ = client.exec_command(command)

    output = stdout.read().decode("utf-8")

    print(output)


if __name__ == "__main__":
    main()
Fabric is Python module that wraps Paramiko to provide a more abstract, higher level API.