Previously I have covered how to set up mitmproxy with Android emulator or iOS device for the purposes of mobile app traffic interception. However, there is more to mobile app hacking, as not all apps allow their API calls to be hijacked by the simple setup I have described earlier. Some of the more secure apps implement a security mechanism called X.509 certificate pinning that entails checking if certificate on the server matches the expected one, thus requiring a more invasive approach to see intercept communications with backend systems. Furthermore, there is more to the app functionality than what is visible on the GUI and within traffic logs. Certain mobile apps implement proprietary HTTP headers to make adversarial API integrations more difficult to implement as they cannot be reverse engineered from intercepted API logs alone.
We will rely on following software, all free to download:
- Android Studio - comprehensive IDE
for Android app development that ships with some tooling we will need.
- ADB - CLI tool and communication interface to manage Android devices and emulators.
- avdmanager - CLI tool to manage Android emulators.
- mitmproxy - MITM proxy server to intercept network traffic (primarily API calls over HTTPS).
- Frida - dynamic instrumentation framework and toolkit.
Think of it as more powerful equivalent of
LD_PRELOAD, but mostly meant for mobile app reversing. - rootAVD - Android emulator rooting tool needed to get full access to system within emulator. This tool will also install Magisk - a set of tools for modding/customising Android.
Combination of mitmproxy and Frida will allow us to tamper with both communications and computations of the app, thus enabling a far deeper insight into inner workings than just sniffing API calls.
Broadly speaking, there are three kinds of Android emulators (also known as AVDs - Android Virtual Devices) that you can create through Android Studio tooling:
- Google Play option comes with Play Store app, Chrome browser and several Google apps. This is the most restricted kind of emulator you can create, but it still can be rooted with rootAVD tool.
- Google APIs option does not come with the Play Store app, but still contains some apps from Google and various client libraries needed to interact with Google services.
- AOSP option is the purest form of Android system that comes from Android Open Source Project. Only the very basic web view app is available instead of full Chrome browser. However, this kind of emulator comes with root access.
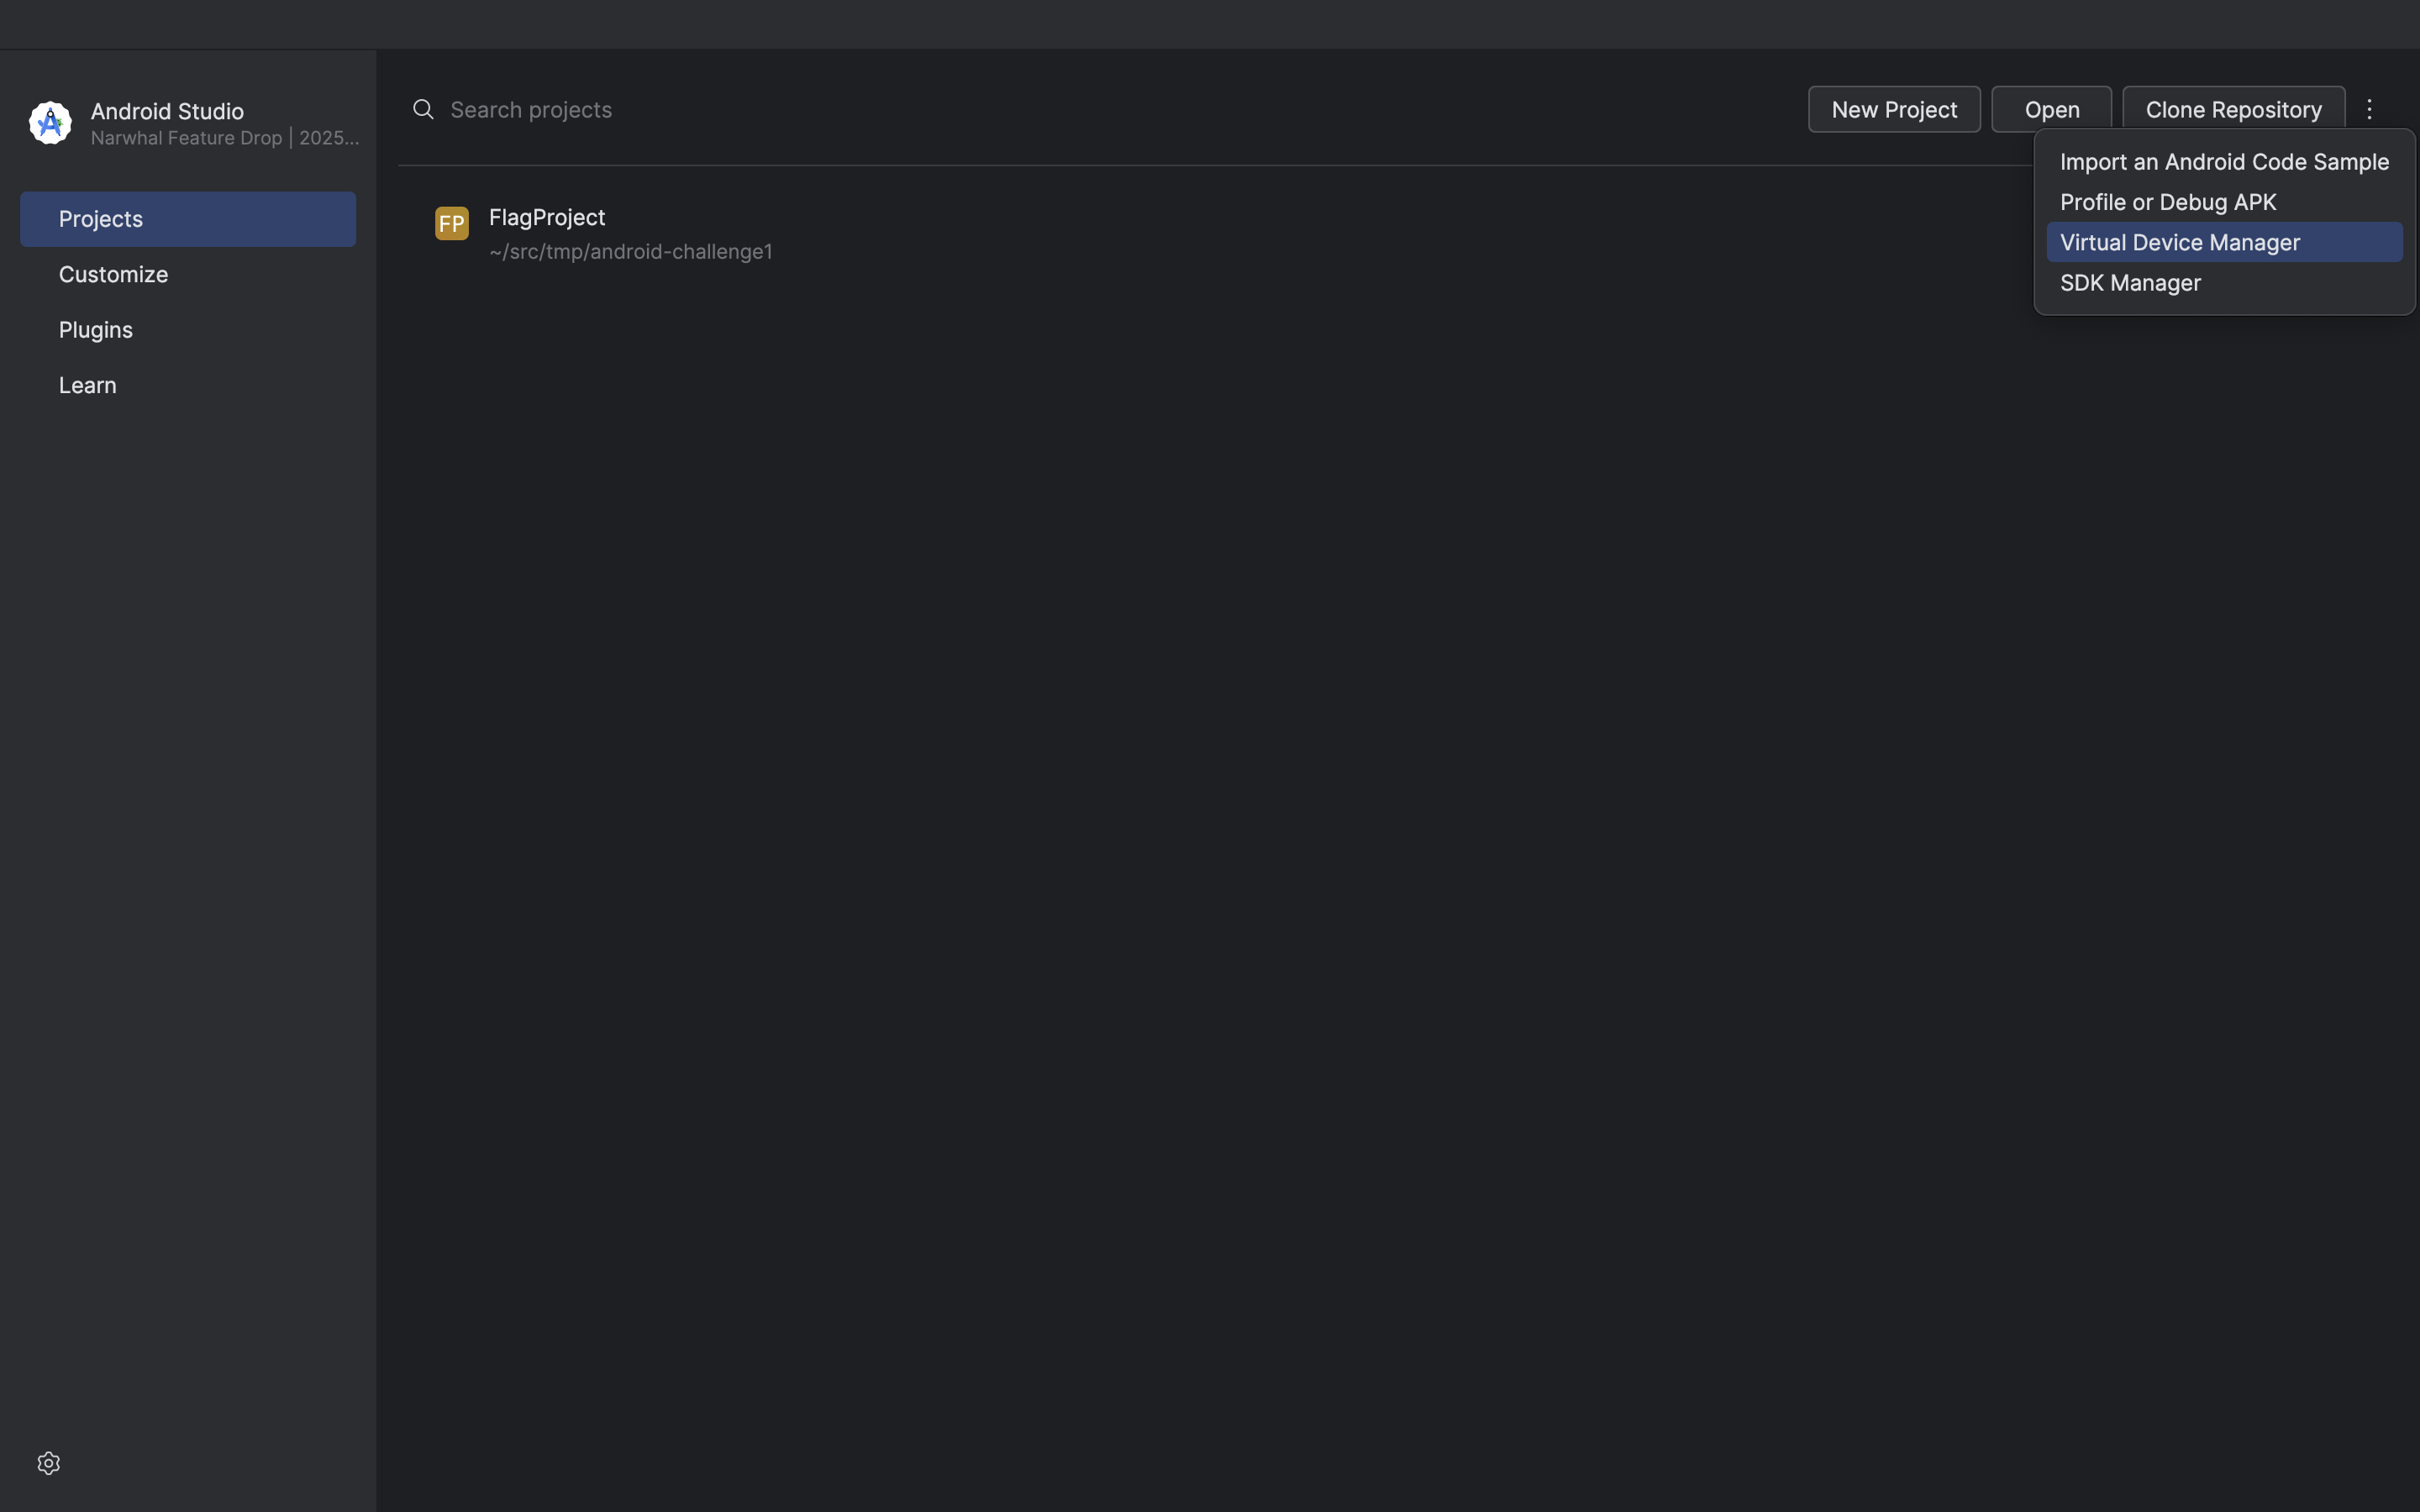
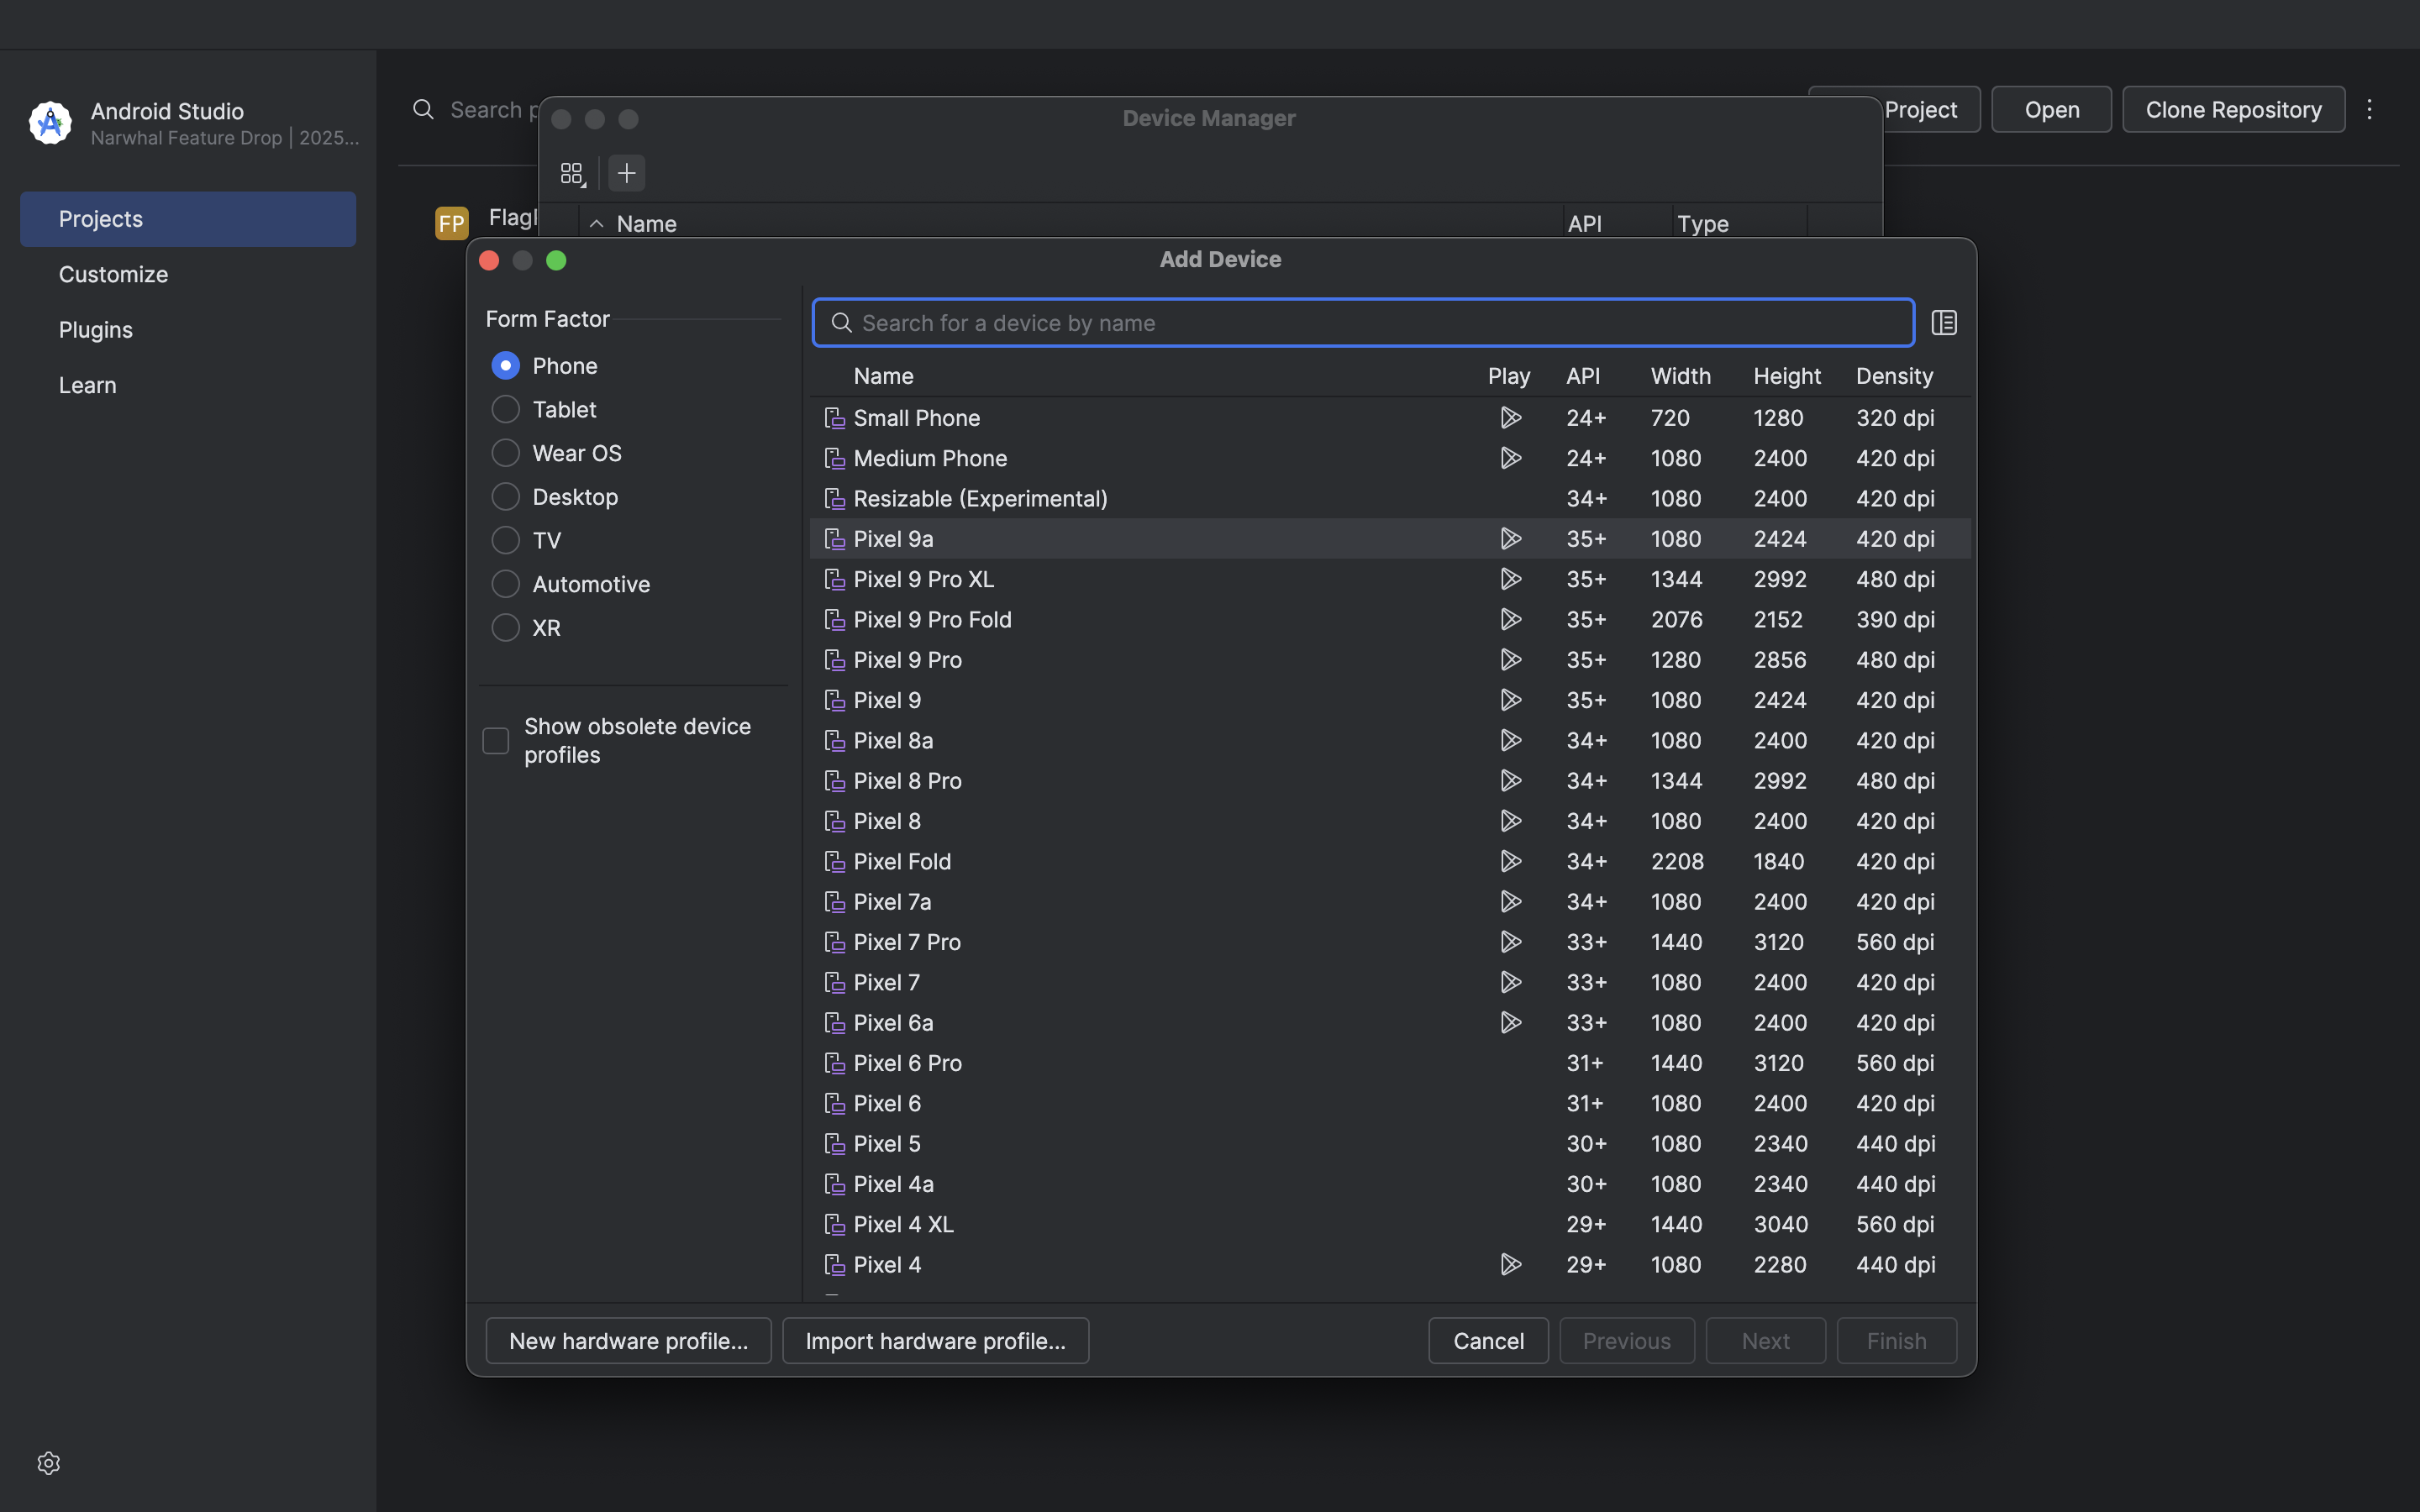
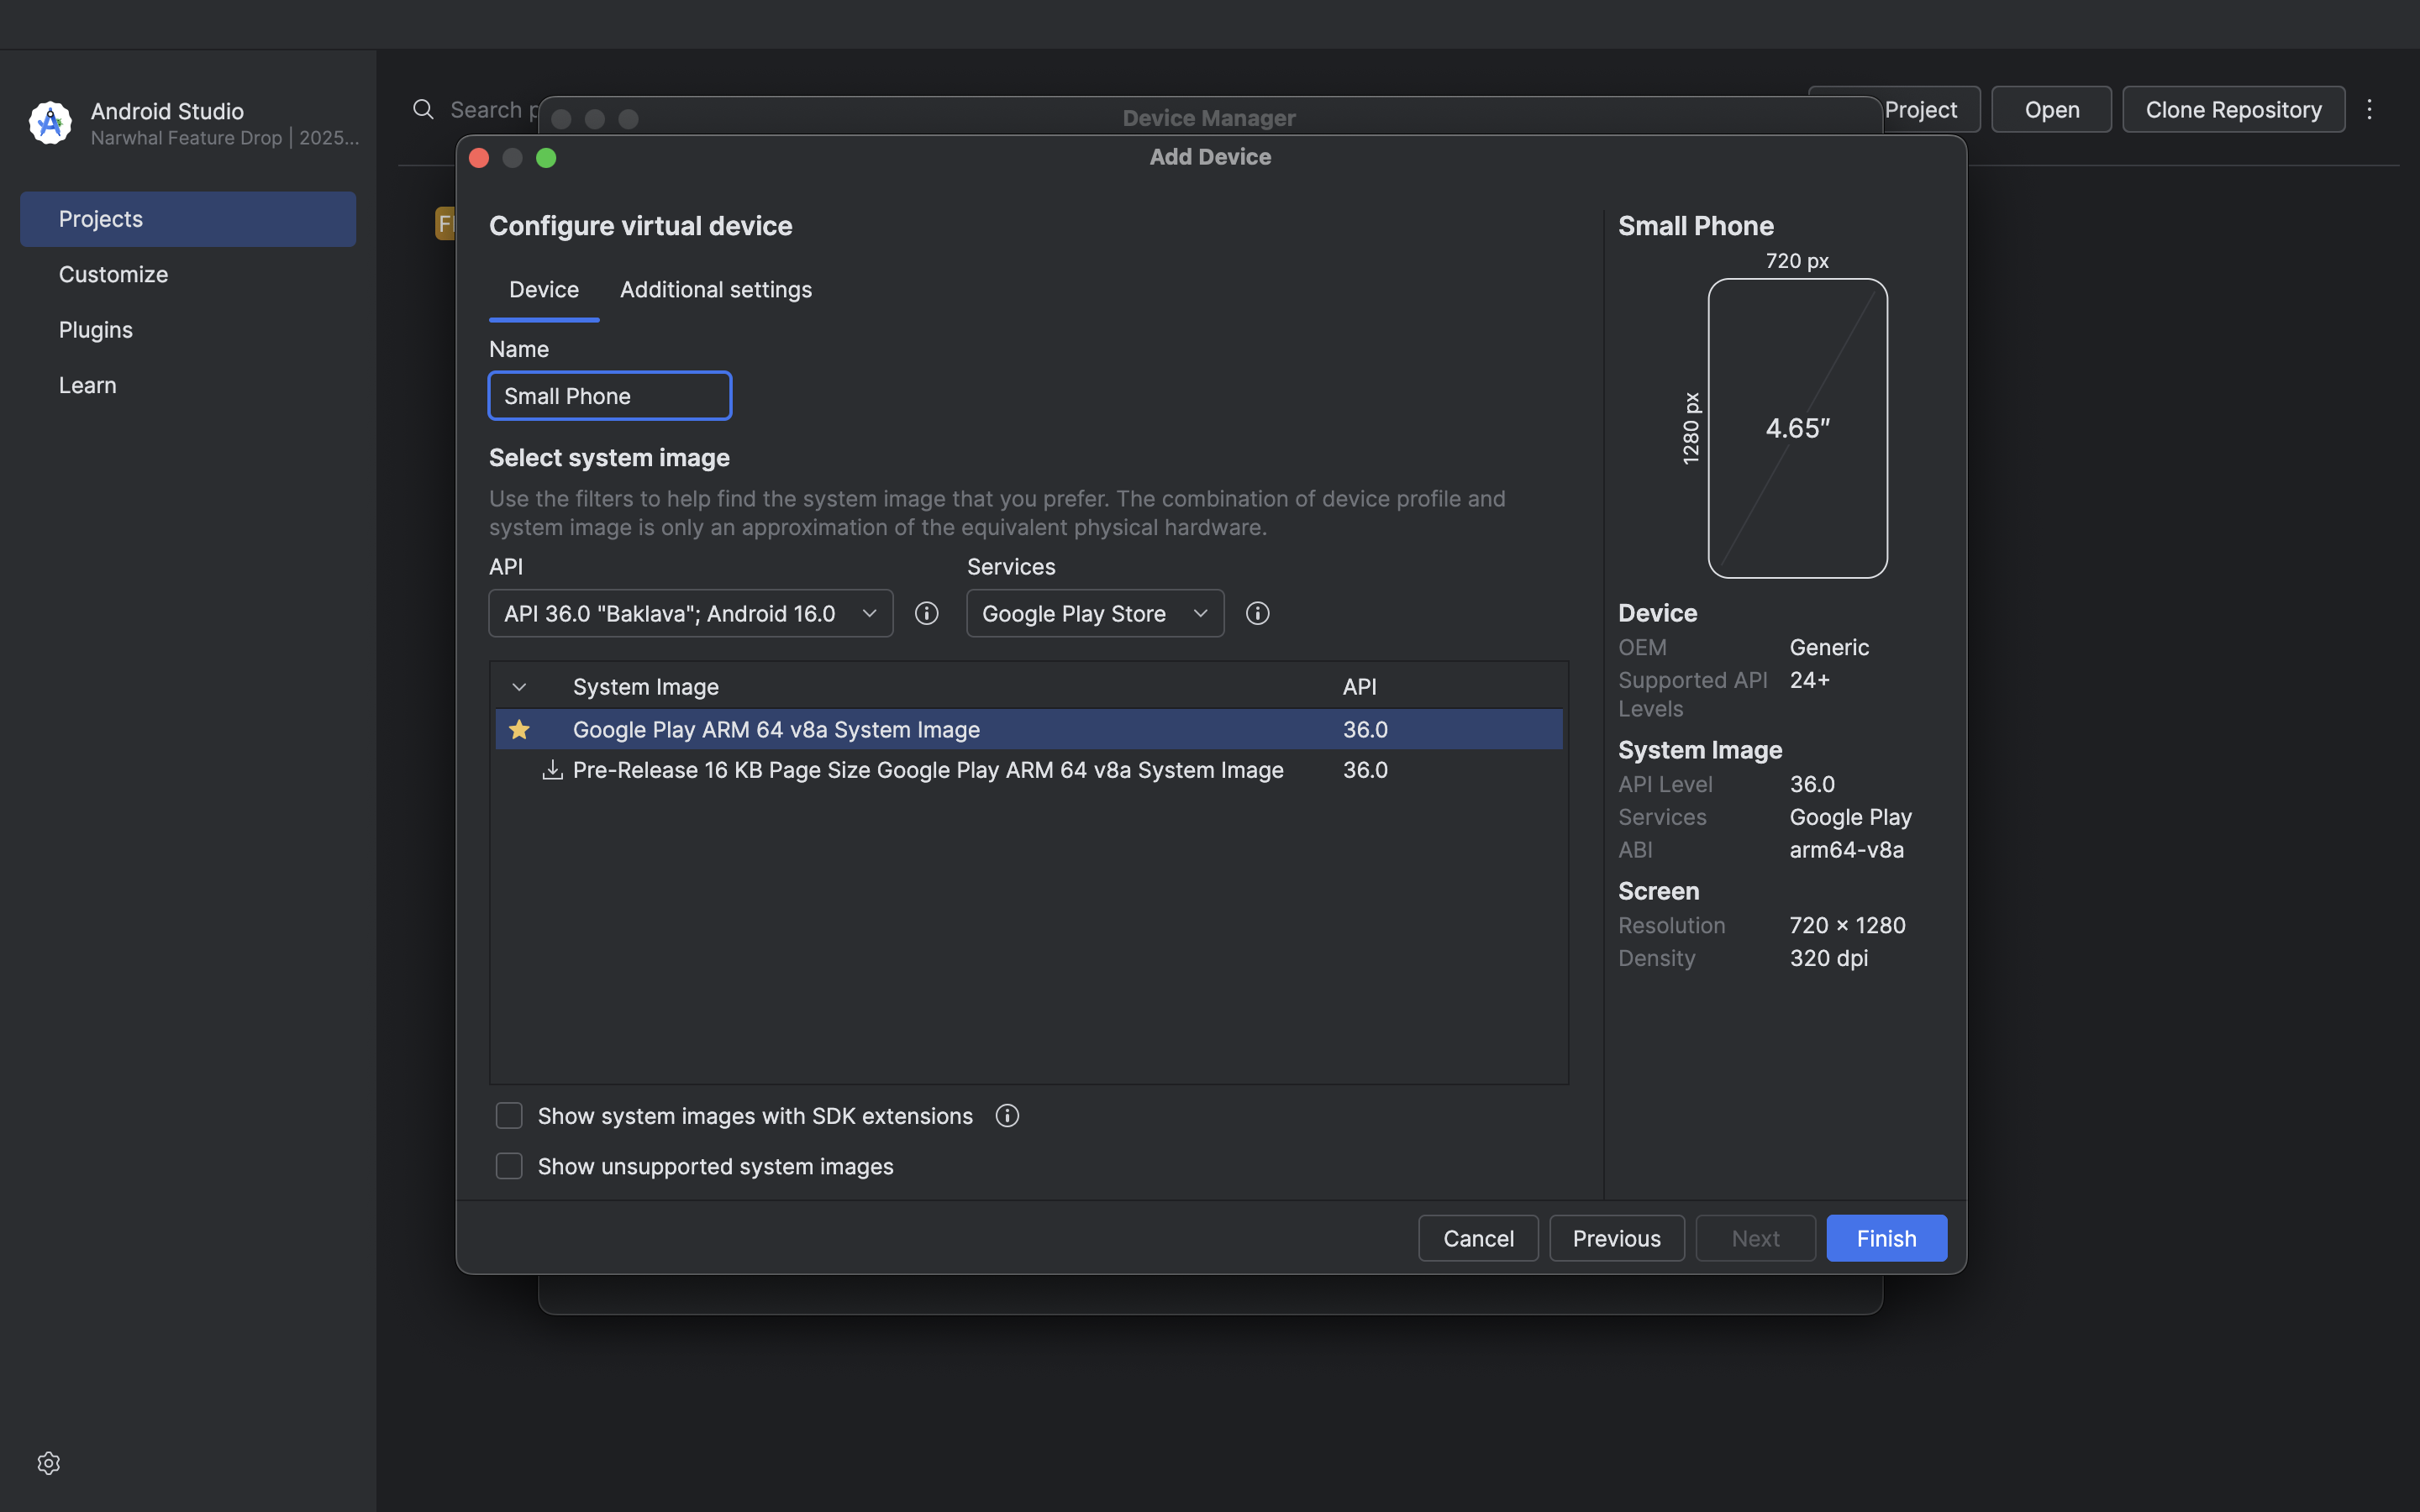
Let us launch Virtual Device Manager from Android Studio by picking the option from context menu next to Clone Repository button. A window with list of emulators will appear. To create a new emulator, press the button with plus sign. Now we need to choose a hardware profile. A hardware profile is a set of characteristics (screen geometry, form factor, appearance and so on) that correspond to a physical device being emulated. Not only mobile phones and tablet can be emulated, but also smart TVs, automotive infotainment systems and XR headsets are supported. Depending on the option you choose, you may need to download additional system images and SDKs to get it running (in that case Android studio will walk you through the process).
For the sake of simplicity, let us pick Small Phone with Play Store and latest version of Android. We launch the emulator and let it boot.
Another way to create an emulator is to use avdmanager CLI tool. While this
tool comes with Android Studio, it may not be loaded in your shell
namespace by not being in one of the directories listed in PATH environment
variable. I was able to rectify this on macOS by adding the following line to
my ~/.zshrc file:
export PATH=$PATH:$HOME/Library/Android/sdk/cmdline-tools/latest/bin
Command for creating ARM-based small phone AVD is:
$ avdmanager create avd -n "SmallPhone" -d "small_phone" -g "google_apis_playstore" -k "system-images;android-36;google_apis_playstore;arm64-v8a"
This command contains specific hardware profile from output of avdmanager list devices in -d parameter, a system image path in -k parameter and AVD
type in -g parameter.
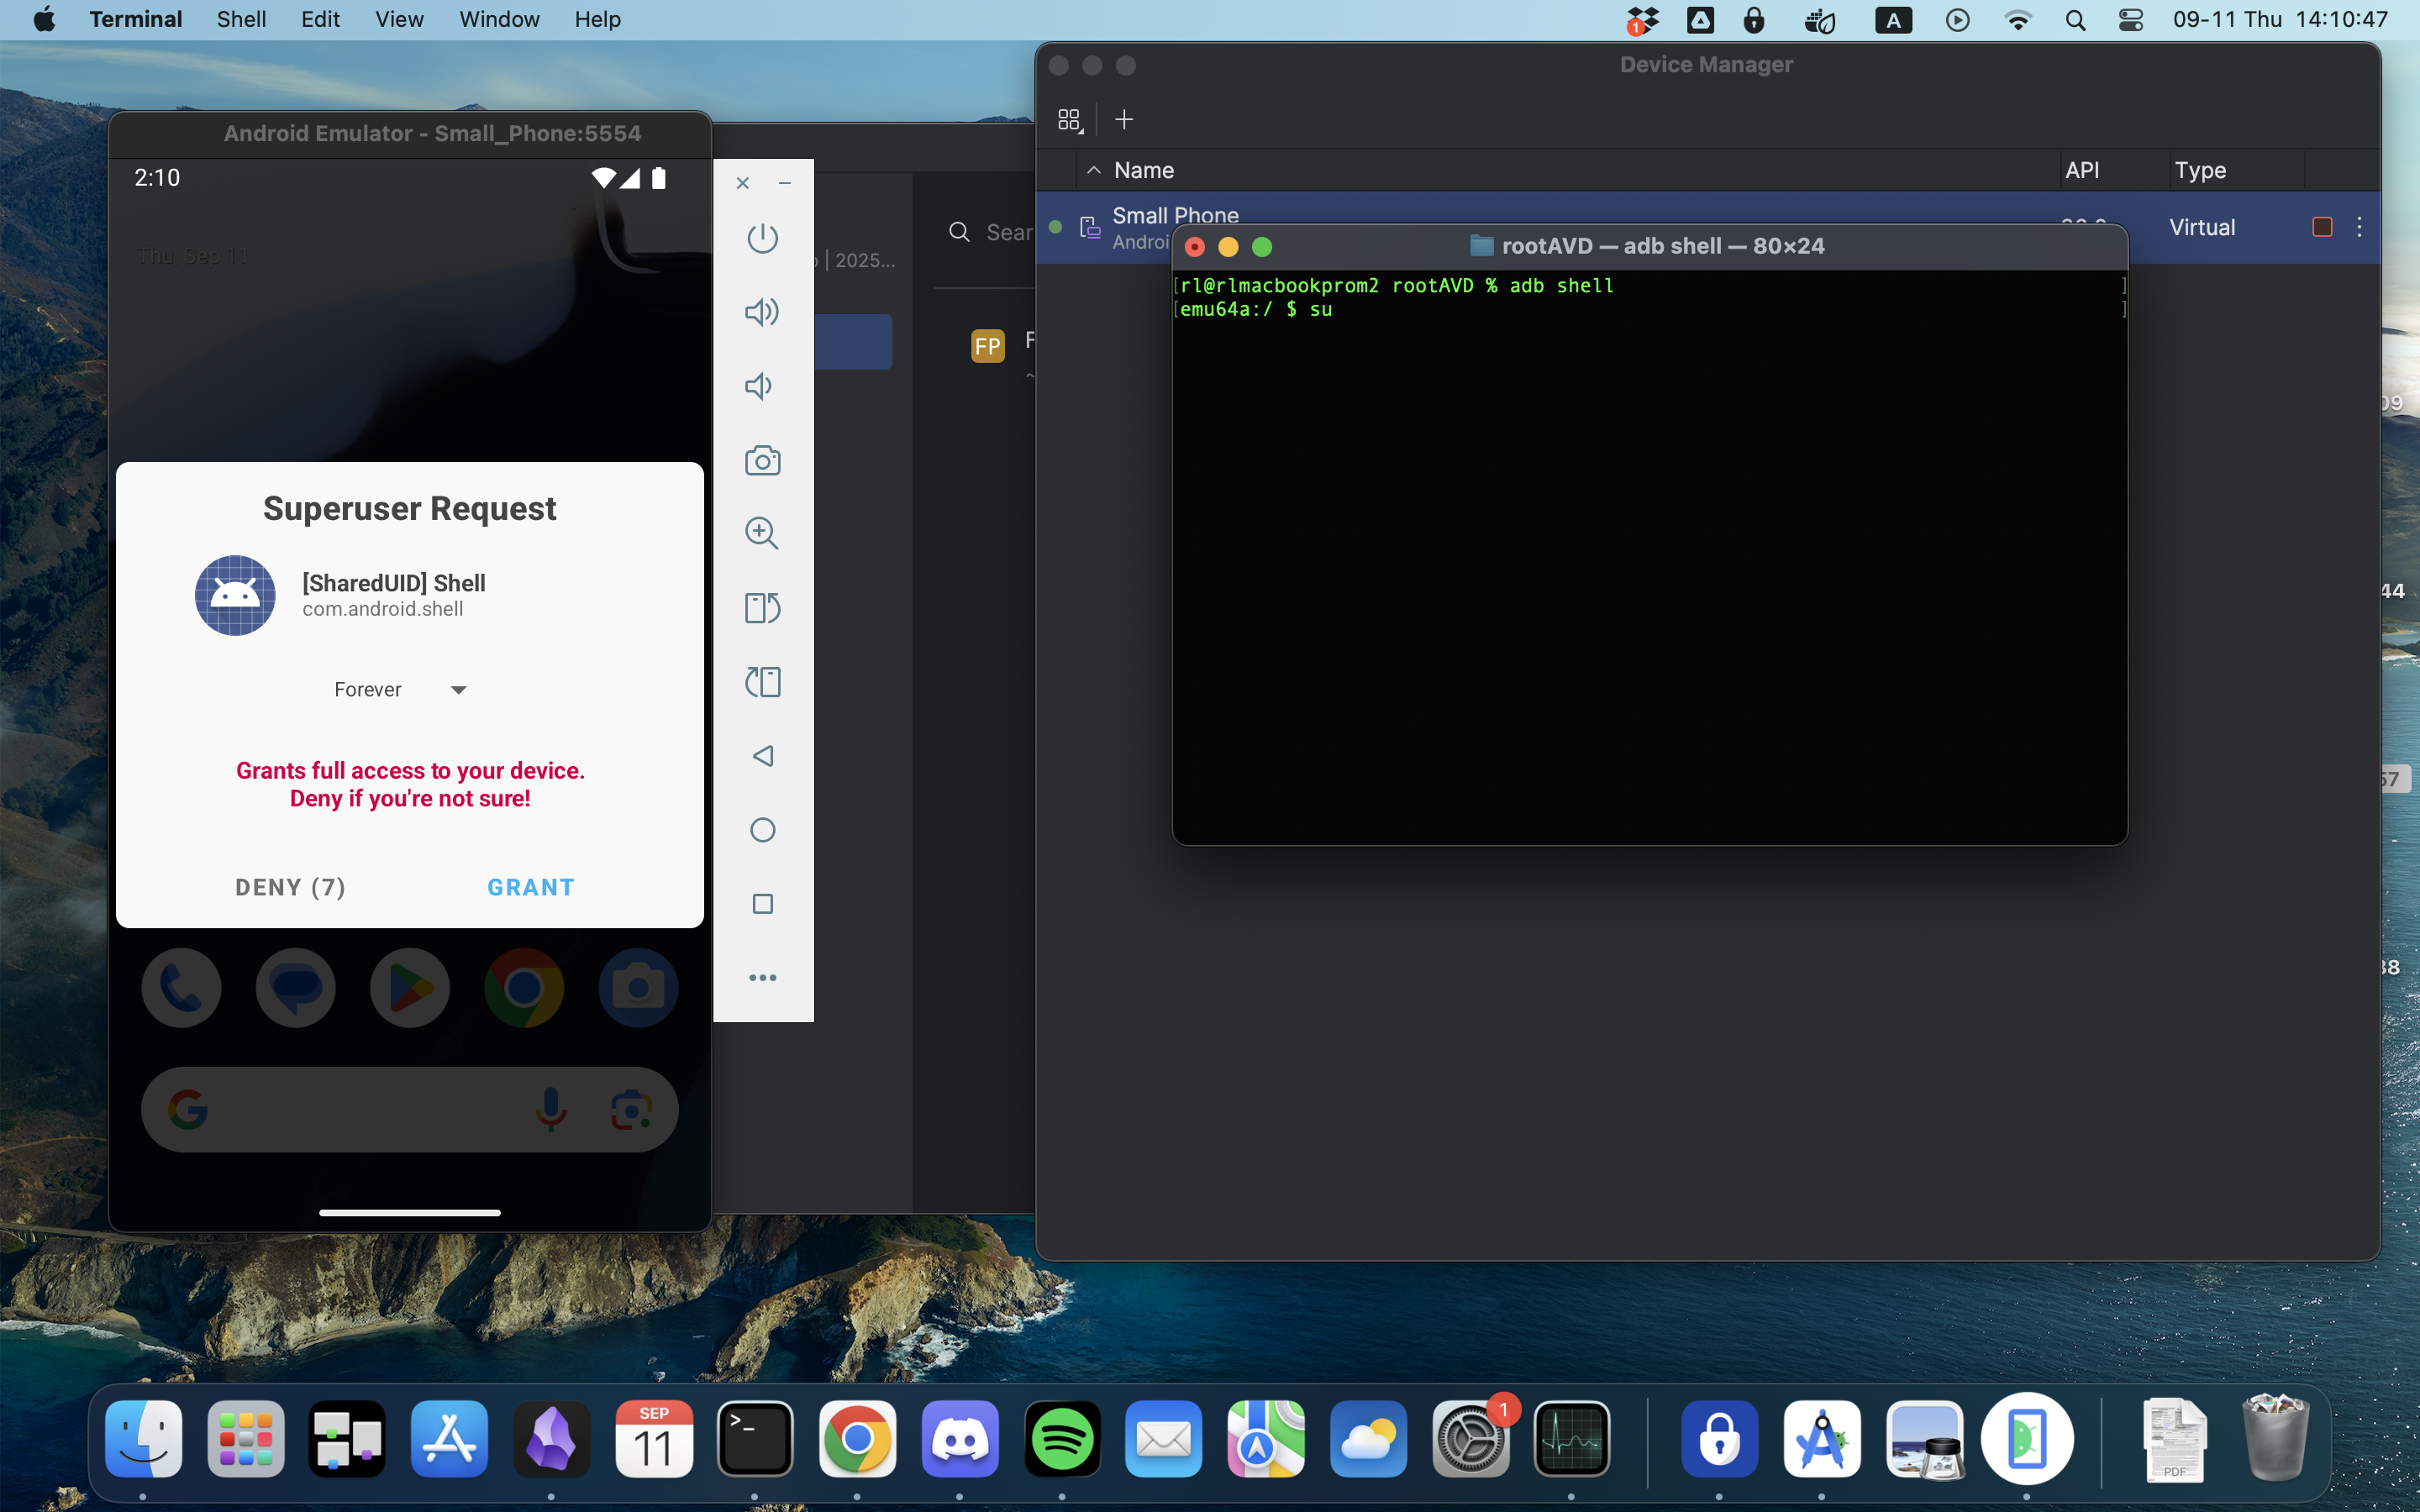
Now, if we try to gain root access via ADB we will run into a restriction:
$ adb shell
emu64a:/ $ su
/system/bin/sh: su: inaccessible or not found
Now it is time to use rootAVD tool. If we launch this tool without any parameters, we will get some text explaining the usage and at the bottom there will some proposed commands we can run (with autodetected ramdisk file paths):
$ ./rootAVD
<...>

Command Examples:
./rootAVD.sh
./rootAVD.sh ListAllAVDs
./rootAVD.sh InstallApps

./rootAVD.sh system-images/android-34/google-xr/arm64-v8a/ramdisk.img
./rootAVD.sh system-images/android-34/google-xr/arm64-v8a/ramdisk.img FAKEBOOTIMG
./rootAVD.sh system-images/android-34/google-xr/arm64-v8a/ramdisk.img DEBUG PATCHFSTAB GetUSBHPmodZ
./rootAVD.sh system-images/android-34/google-xr/arm64-v8a/ramdisk.img restore
./rootAVD.sh system-images/android-34/google-xr/arm64-v8a/ramdisk.img InstallKernelModules
./rootAVD.sh system-images/android-34/google-xr/arm64-v8a/ramdisk.img InstallPrebuiltKernelModules
./rootAVD.sh system-images/android-34/google-xr/arm64-v8a/ramdisk.img InstallPrebuiltKernelModules GetUSBHPmodZ PATCHFSTAB DEBUG
./rootAVD.sh system-images/android-34/google-xr/arm64-v8a/ramdisk.img AddRCscripts
The file in question is crucial for Android boot process, as it contains a
small filesystem needed to bootstrap rest of Android. In this case Small Phone
AVD does not correspond to ramdisk listed, but we can get more options
by launching ./rootAVD.sh ListAllAVDs command, which leads us to the
following command:
$ ./rootAVD.sh system-images/android-36/google_apis_playstore/arm64-v8a/ramdisk.img
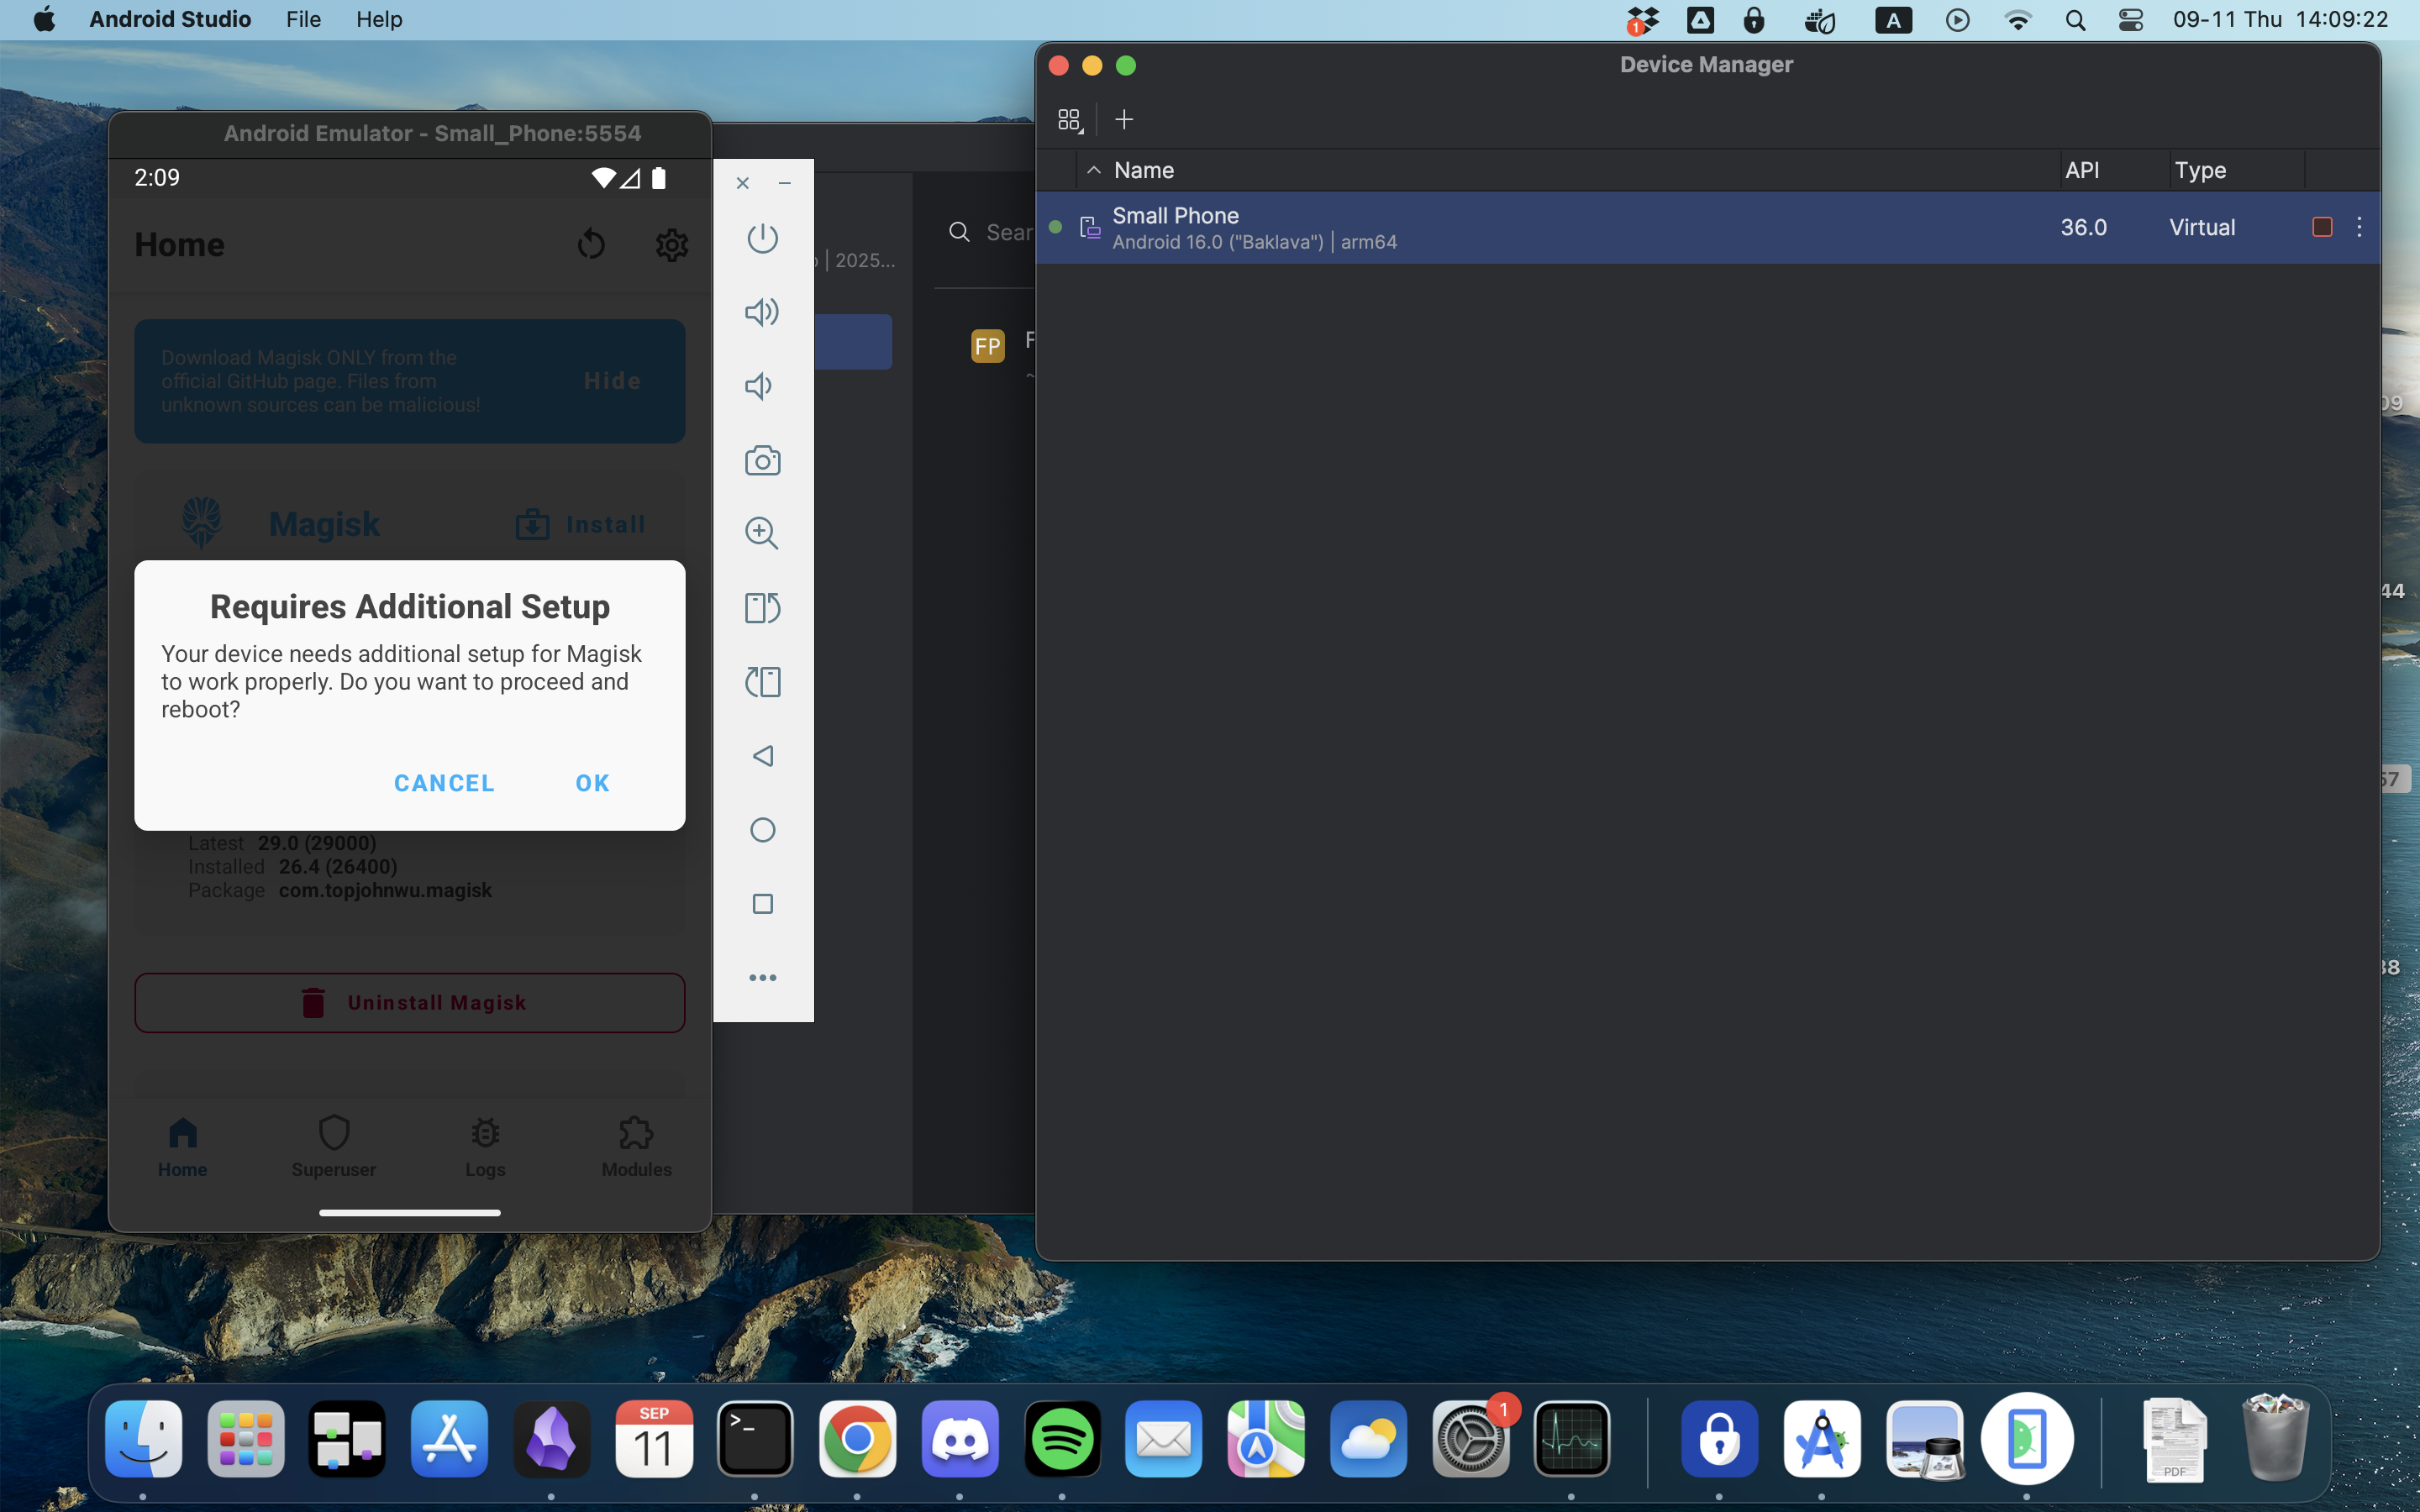
At one point it will ask to pick Magisk version. It is fine to pick the default one by pressing Enter. Once done, it will shut down the emulator. We will need to force it to go through the entire boot process by picking Cold Boot from additional menu in Virtual Device Manager window. You will see that Magisk app is available on the virtual phone. It will require some additional setup and one more reboot of the emulator.
Now, if we try gaining root access via ADB again, Magisk GUI will ask us to approve it for the first time, but we will be able to get it:
$ adb shell
emu64a:/ $ su
emu64a:/ # whoami
root
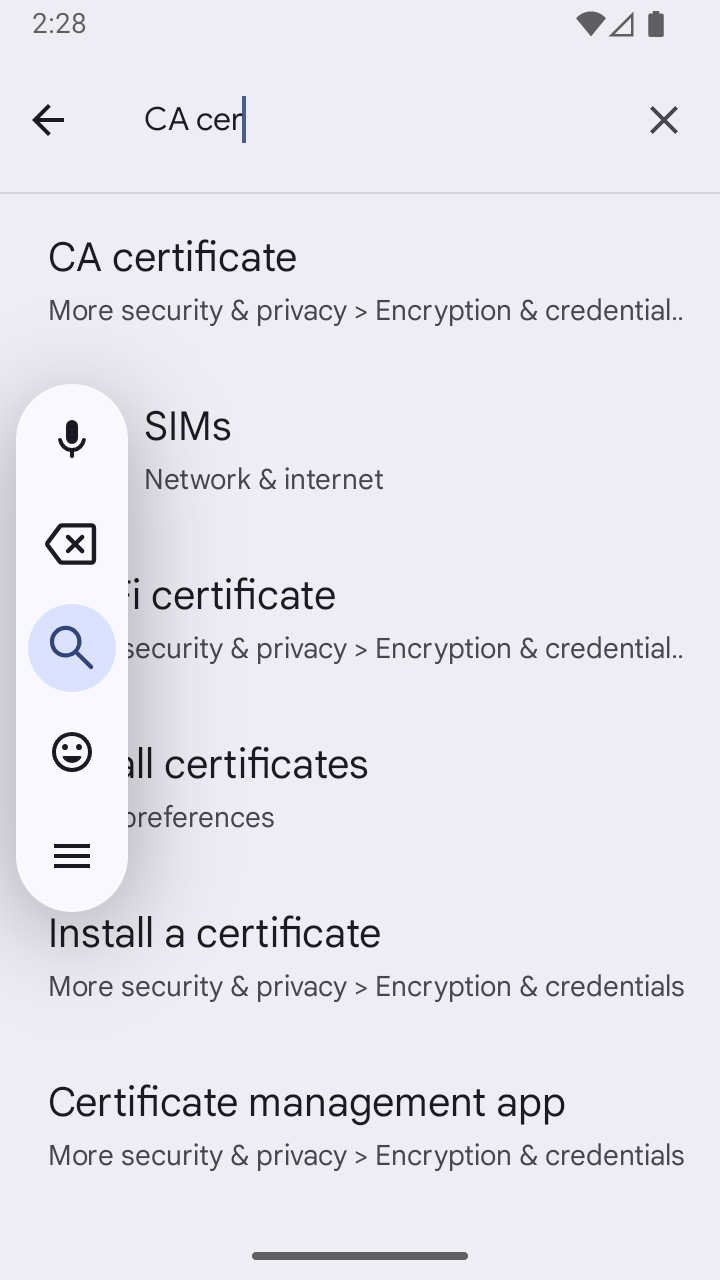
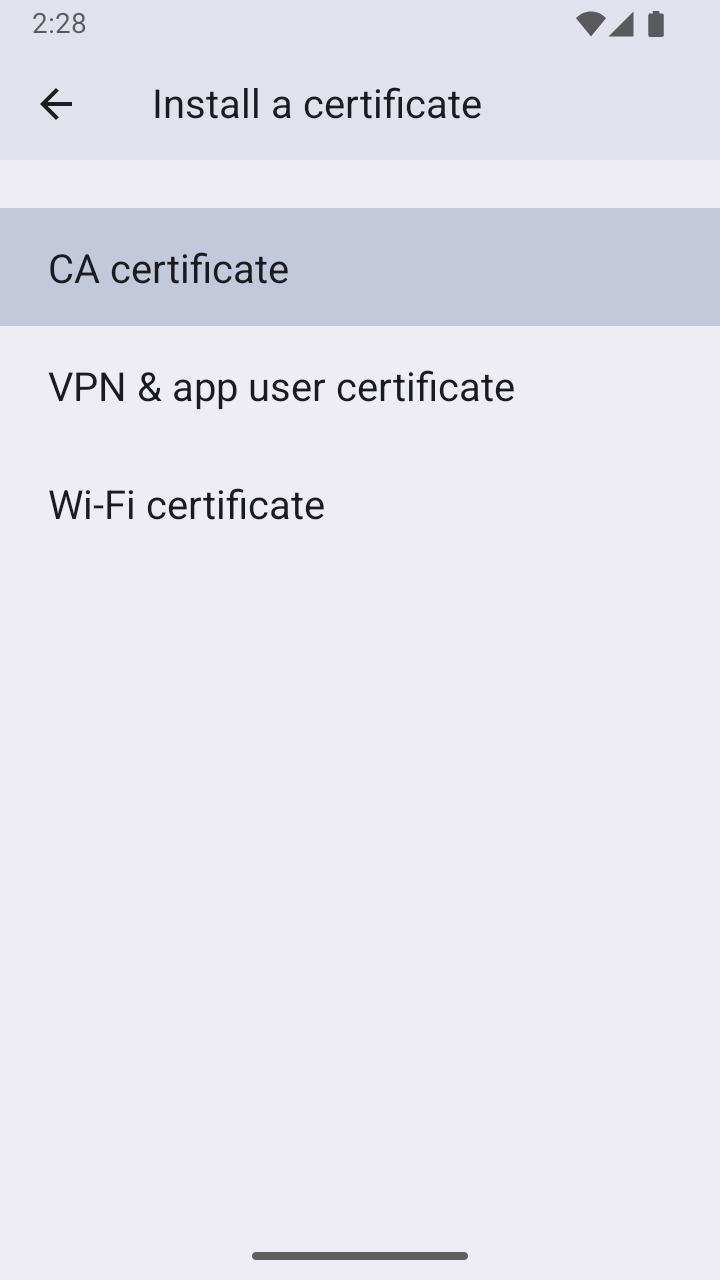
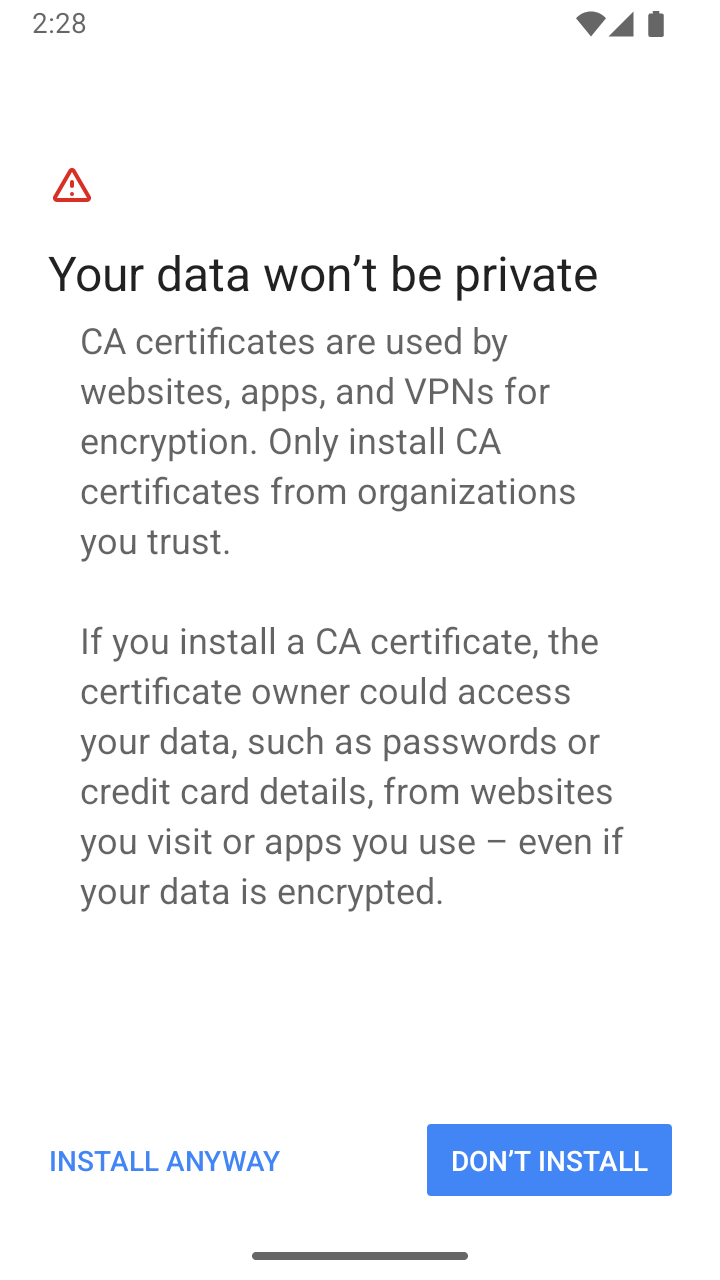
Now we can launch mitmproxy and go through procedure described in my older post up until the point where we need to trust a certificate. On modern Android we need to go to Settings app, search for “CA certificate” and go through the simple flow to install and trust the certificate downloaded from MITM proxy server. Once that is done, we can go to some random website via Google Chrome and verify that HTTP traffic can be inspected via mitmproxy.
Screenshot 6 Screenshot 7 Screenshot 8
So it’s time to install Frida. There are two parts to Frida: 1) Python tooling to be launched in the host system and 2) binary server running under root user within Android system. Architecture of binary part has to match your emulator architecture (ARM or x86).
Python part of Frida can be install via PIP:
$ pip3 install frida-tools
Let us download Frida server binary, decompress it and rename the binary file for our convenience.
$ wget https://github.com/frida/frida/releases/download/17.2.17/frida-server-17.2.17-android-arm64.xz
$ unxz frida-server-17.2.17-android-arm64.xz
$ mv frida-server-17.2.17-android-arm64 frida-server
Now we can push the Frida server via ADB and launch it under root (keep this running in terminal session):
$ adb push frida-server /data/local/tmp
frida-server: 1 file pushed, 0 skipped. 226.4 MB/s (52019048 bytes in 0.219s)
$ adb shell
emu64a:/ $ su
emu64a:/ # chmod +x /data/local/tmp/frida-server
emu64a:/ # /data/local/tmp/frida-server
One of the Android apps that implement TLS cert pinning is Hollister Co. app. You can download the APK file from third party source and install it by dragging the APK file into emulator window. Now everything comes together. We are going to use generalised Bypass SSL Pinning script that covers a variety of ways certificate pinning can be implemented and attempts to disable them.
$ frida -U --codeshare Q0120S/bypass-ssl-pinning -f com.abercrombie.hollister
     ____
    / _  |   Frida 17.2.16 - A world-class dynamic instrumentation toolkit
   | (_| |
    > _  |   Commands:
   /_/ |_|       help      -> Displays the help system
   . . . .       object?   -> Display information about 'object'
   . . . .       exit/quit -> Exit
   . . . .
   . . . .   More info at https://frida.re/docs/home/
   . . . .
   . . . .   Connected to Android Emulator 5554 (id=emulator-5554)
Spawned `com.abercrombie.hollister`. Resuming main thread!
[Android Emulator 5554::com.abercrombie.hollister ]-> ---
Unpinning Android app...
[+] SSLPeerUnverifiedException auto-patcher
[+] HttpsURLConnection (setDefaultHostnameVerifier)
[+] HttpsURLConnection (setSSLSocketFactory)
[+] HttpsURLConnection (setHostnameVerifier)
[+] SSLContext
[+] TrustManagerImpl
[ ] OkHTTPv3 (list)
[ ] OkHTTPv3 (cert)
[ ] OkHTTPv3 (cert array)
[ ] OkHTTPv3 ($okhttp)
[ ] Trustkit OkHostnameVerifier(SSLSession)
[ ] Trustkit OkHostnameVerifier(cert)
[ ] Trustkit PinningTrustManager
[ ] Appcelerator PinningTrustManager
[ ] OpenSSLSocketImpl Conscrypt
[ ] OpenSSLEngineSocketImpl Conscrypt
[ ] OpenSSLSocketImpl Apache Harmony
[ ] PhoneGap sslCertificateChecker
[ ] IBM MobileFirst pinTrustedCertificatePublicKey (string)
[ ] IBM MobileFirst pinTrustedCertificatePublicKey (string array)
[ ] IBM WorkLight HostNameVerifierWithCertificatePinning (SSLSocket)
[ ] IBM WorkLight HostNameVerifierWithCertificatePinning (cert)
[ ] IBM WorkLight HostNameVerifierWithCertificatePinning (string string)
[ ] IBM WorkLight HostNameVerifierWithCertificatePinning (SSLSession)
[ ] Conscrypt CertPinManager
[ ] CWAC-Netsecurity CertPinManager
[ ] Worklight Androidgap WLCertificatePinningPlugin
[ ] Netty FingerprintTrustManagerFactory
[ ] Squareup CertificatePinner (cert)
[ ] Squareup CertificatePinner (list)
[ ] Squareup OkHostnameVerifier (cert)
[ ] Squareup OkHostnameVerifier (SSLSession)
[+] Android WebViewClient (SslErrorHandler)
[ ] Android WebViewClient (WebResourceError)
[ ] Apache Cordova WebViewClient
[ ] Boye AbstractVerifier
[ ] Appmattus (CertificateTransparencyInterceptor)
[ ] Appmattus (CertificateTransparencyTrustManager)
Unpinning setup completed
---
  --> Bypassing Trustmanager (Android < 7) request
  --> Bypassing TrustManagerImpl checkTrusted
  --> Bypassing TrustManagerImpl checkTrusted
  --> Bypassing TrustManagerImpl checkTrusted
  --> Bypassing Trustmanager (Android < 7) request
  --> Bypassing TrustManagerImpl checkTrusted
  --> Bypassing Trustmanager (Android < 7) request
  --> Bypassing Trustmanager (Android < 7) request
  --> Bypassing TrustManagerImpl checkTrusted
  --> Bypassing TrustManagerImpl checkTrusted
  --> Bypassing Trustmanager (Android < 7) request
  --> Bypassing Trustmanager (Android < 7) request
  --> Bypassing Trustmanager (Android < 7) request
  --> Bypassing Trustmanager (Android < 7) request
  --> Bypassing Trustmanager (Android < 7) request
  --> Bypassing Trustmanager (Android < 7) request
  --> Bypassing TrustManagerImpl checkTrusted
  --> Bypassing Trustmanager (Android < 7) request
  --> Bypassing Trustmanager (Android < 7) request
  --> Bypassing TrustManagerImpl checkTrusted
  --> Bypassing Trustmanager (Android < 7) request
  --> Bypassing TrustManagerImpl checkTrusted
  --> Bypassing TrustManagerImpl checkTrusted
  --> Bypassing TrustManagerImpl checkTrusted
  --> Bypassing TrustManagerImpl checkTrusted
  --> Bypassing TrustManagerImpl checkTrusted
  --> Bypassing TrustManagerImpl checkTrusted
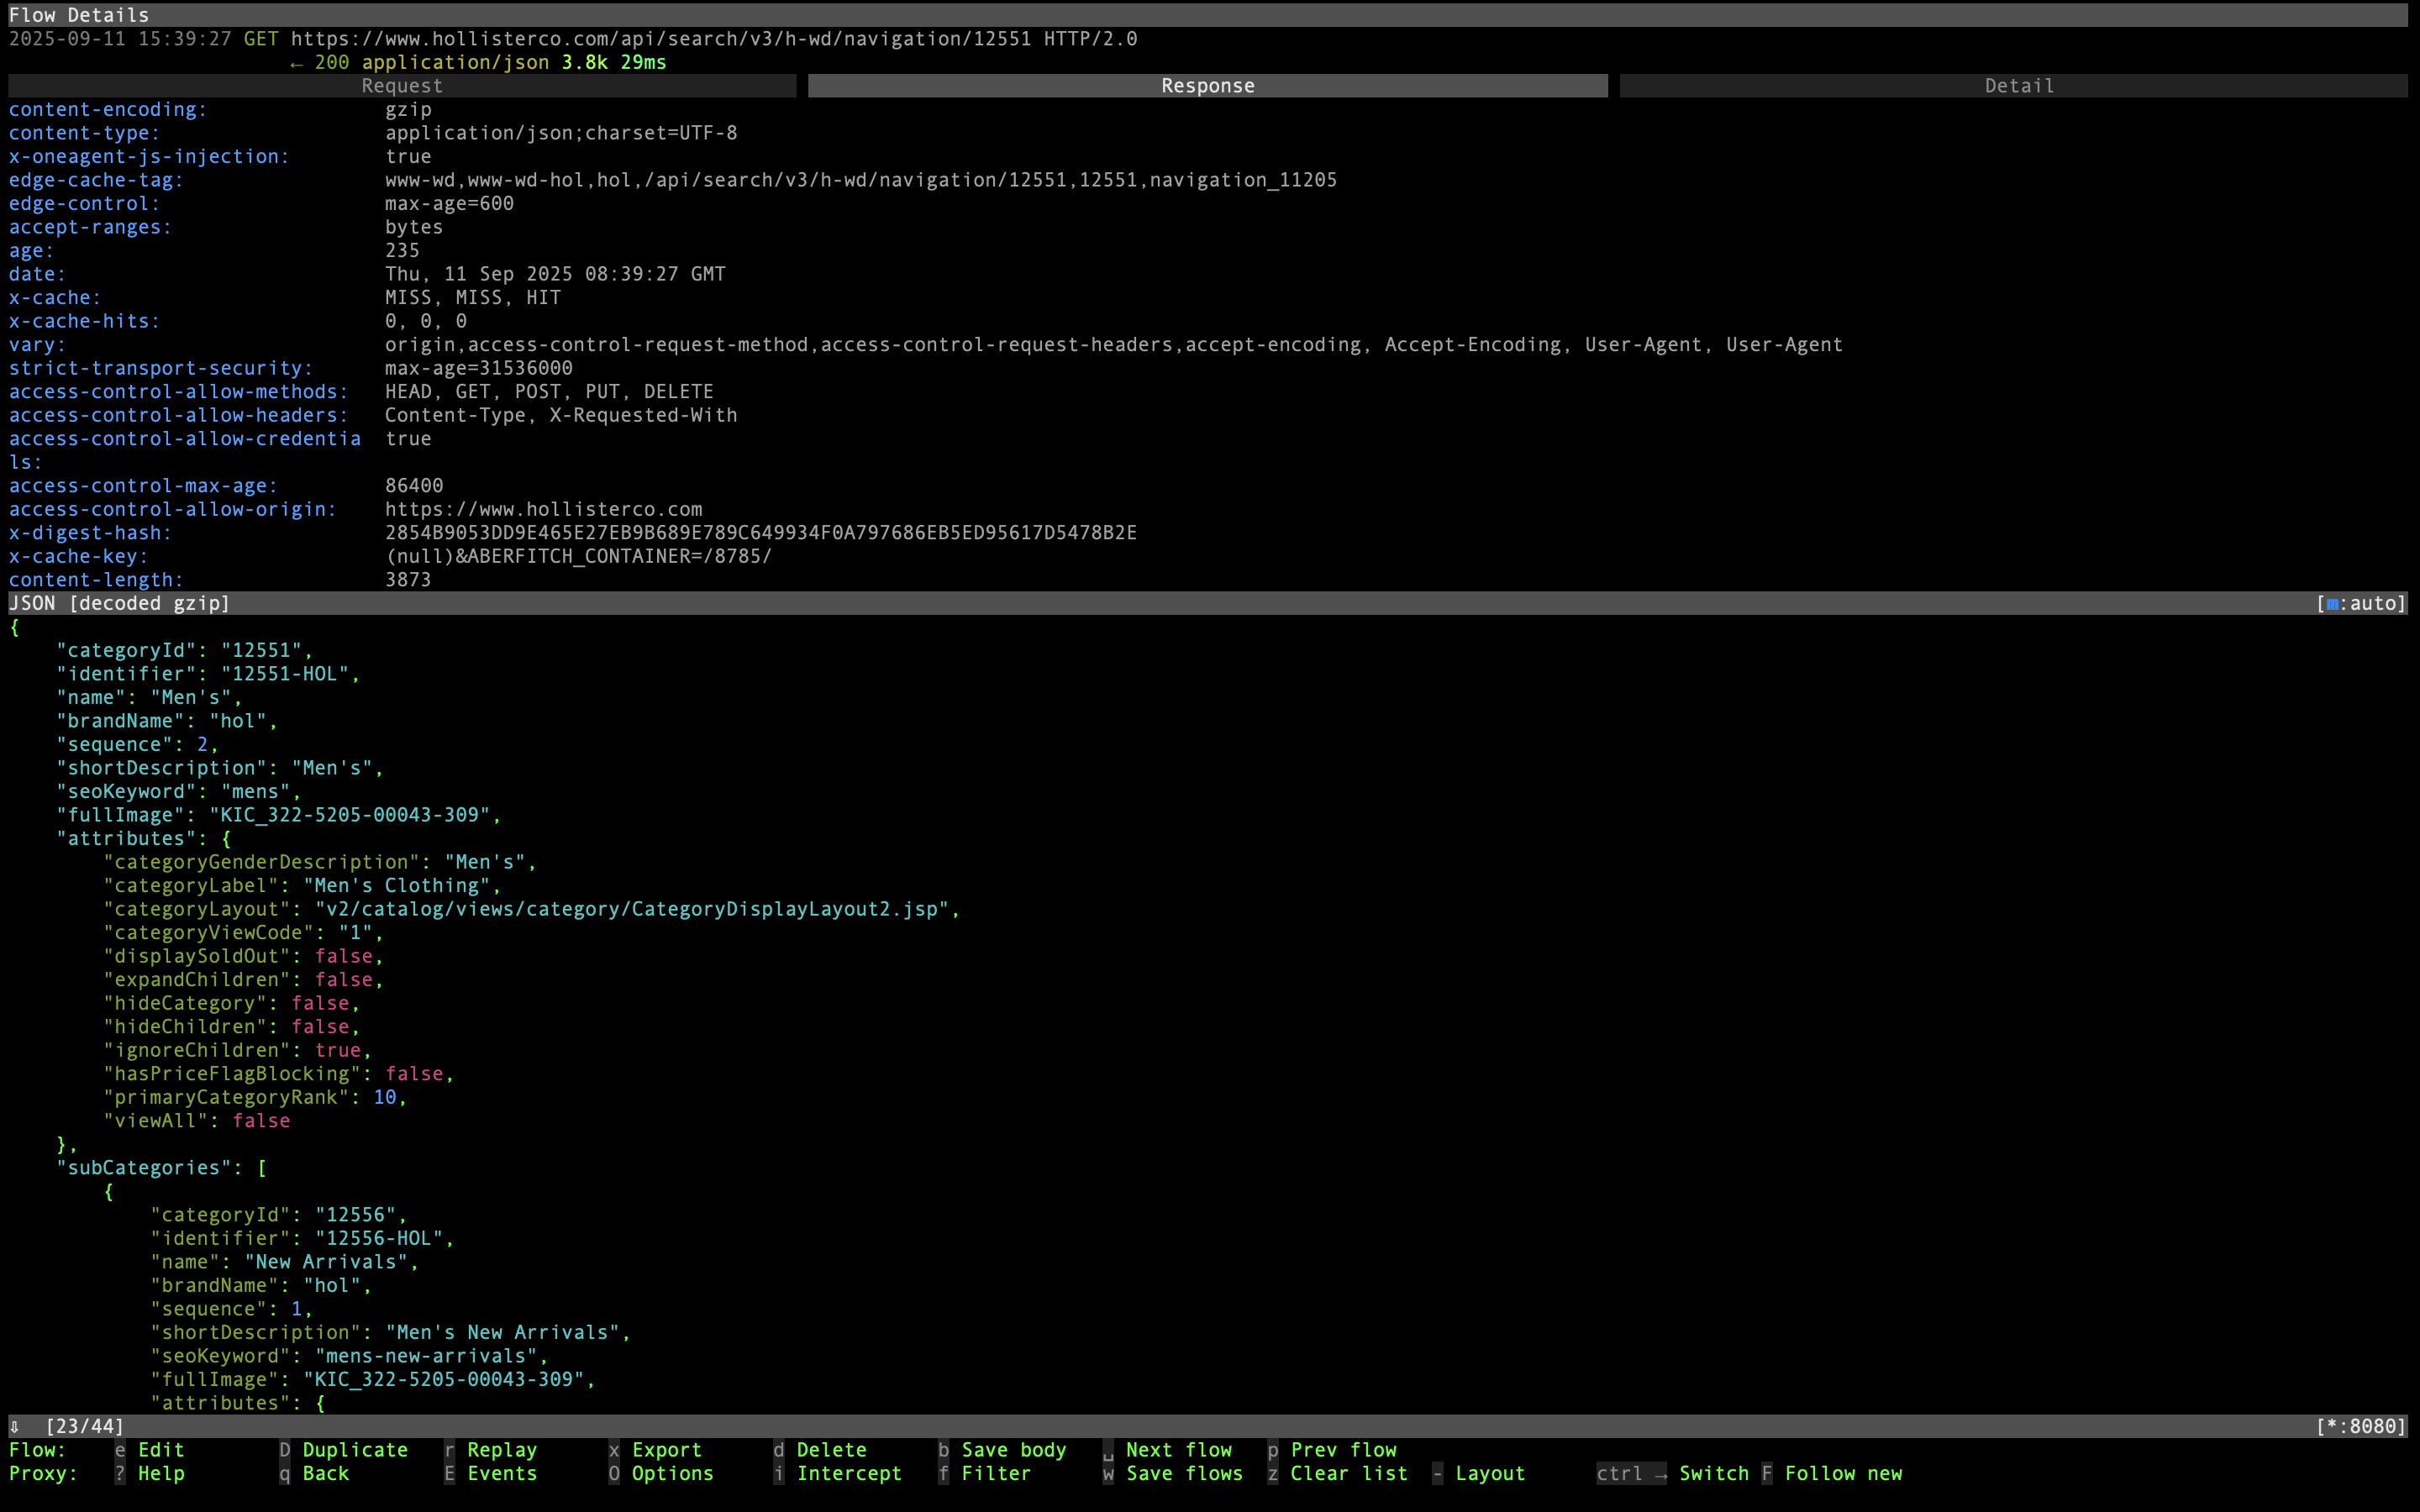
Hollister Co. app now can be operated successfully and we can also see the HTTP flows being intercepted in mitmproxy.
If we look through the script we just used, we see some JavaScript code with many try-catch blocks, for example:
        // OpenSSLSocketImpl Conscrypt
        try {
            const OpenSSLSocketImpl = Java.use('com.android.org.conscrypt.OpenSSLSocketImpl');
            OpenSSLSocketImpl.verifyCertificateChain.implementation = function (certRefs, JavaObject, authMethod) {
                console.log('  --> Bypassing OpenSSLSocketImpl Conscrypt');
            };
            console.log('[+] OpenSSLSocketImpl Conscrypt');
        } catch (err) {
            console.log('[ ] OpenSSLSocketImpl Conscrypt');
        }
We can see that this piece of code attacks one of the possible cert pinning implementations by replacing (at runtime!) the exact code to verify certificate chain with small function that only prints a debug log. This is an example of the dynamic instrumentation concept that Frida project centers around.