Scrapy is a prominent Python framework for web scraping that provides a certain kind of project template structure for easier development. However, once Scrapy project is developed it may be necessary to deploy it into cloud for long running scraping jobs. Scrapy Cloud is a SaaS solution for hosting your Scrapy projects, developed by the same company that created Scrapy framework. Let us go through an example for using it with already developed scraper.
First we need to sign up at Scrapy Cloud. This can be done with Github account via OAuth flow.
Once you’re in the client area, press “Start a new project” button. Enter the name for your project
(e.g. “quotes”) and press “Start”. You will be given shell commands to install CLI tool for
interacting with Scrapy Cloud (shub), log in into the system from shell session and and deploy
your project.
Now let us clone a git repository containing an example Scrapy project:
$ git clone https://github.com/scrapy/quotesbot.git
$ cd quotesbot
Go through the steps from Scrapy Cloud dashboard:
$ pip3 install shub
$ shub login
$ shub deploy [REDACTED]
Now you should have an URL for running your spiders through web interface. Open it in the browser.
Press Run button. In the modal view choose which spider(s) you want to run (our example has two),
priority and maybe some arguments for the spider (that can be ingested via keyword arguments in
the initializer of your scrapy.Spider subclass). If you have a paid plan of Scrapy cloud you will
be able to increase Job Units as well. Press “Run” in the modal dialog to launch scraping.
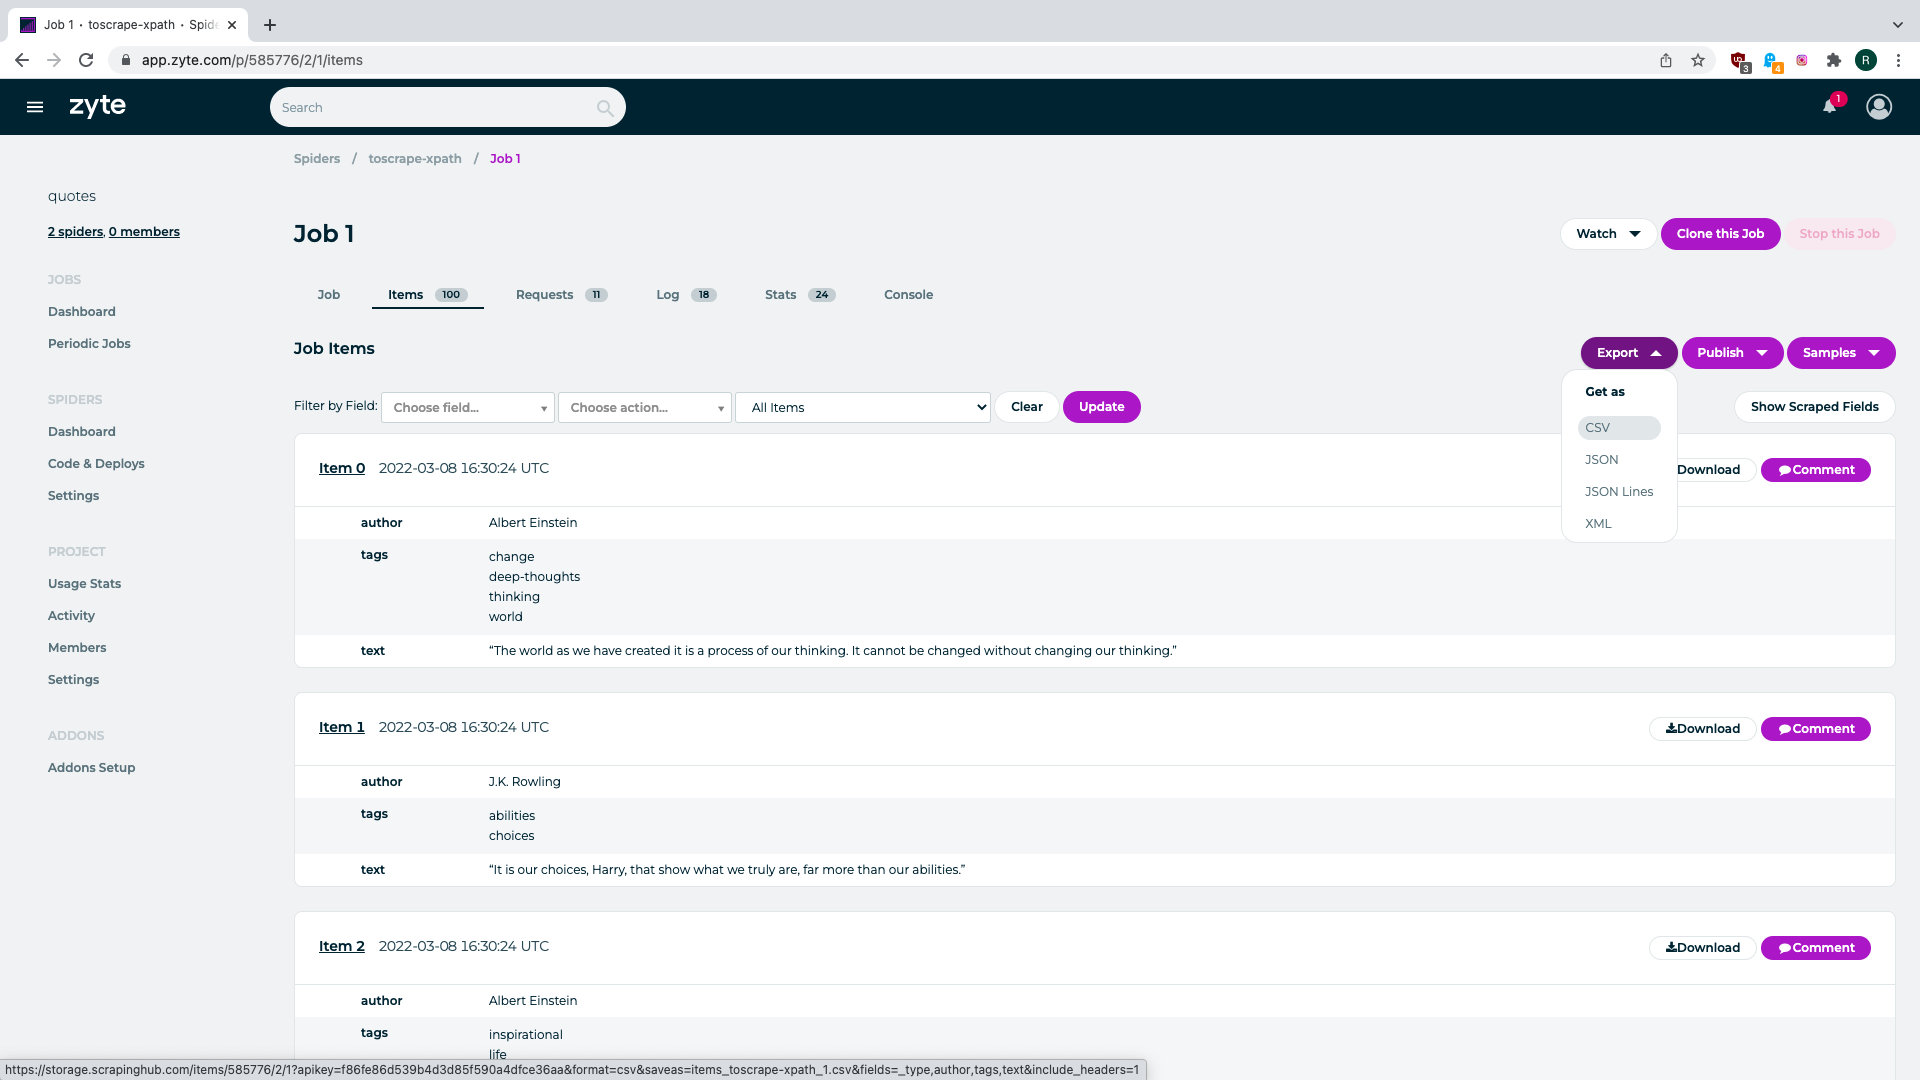
Now your spider will be listed in the Running Jobs part of the page when it’s running and will
be in Completed Jobs page when it gets completed. Either way, next to spider name there will
a number of items scraped so far, number of requests made, number of errors detected and number
of log lines generated. Clicking either of these will provide a page with detailed listing of
corresponding data. You can export your scraped data in CSV, JSON, JSONL or XML formats from
the page that presents scraped items. It’s as simple as that.
To get notified about scraping jobs being finished you can enable email notifications by ticking the checkbox under “Watching” in a project of interest.
To schedule periodic rescraping of data, you can create a periodic job in the Periodic Jobs tab of the dashboard. However, this requires a paid plan.
You may want to have your Scrapy project running in the cloud, but control it from command line.
That is possible with shub CLI. We have already deployed a Scrapy project using it, but we can
also:
- Schedule a scraping job for a given spider:
$ shub schedule toscrape-xpath - Watch logs of in-progress job:
$ shub log -f 2/2 - Print items as they are being scraped:
$ shub items -f 2/2 - Print request/response statuses:
$ shub requests -f 2/2
We can also build custom Docker images to deploy our Scrapy projects that need more customised environment, but that is a rather advanced use case and not needed that often. To learn more about custom images, see: https://shub.readthedocs.io/en/stable/deploy-custom-image.html