The most common way to use mitmproxy for API traffic interception is to use it in a default forward proxy mode. One would run mitmproxy server on a laptop or desktop computer, then configure proxy settings and install X.509 certificate on a client device (e.g. smart phone). But there is more to mitmproxy than that. It can also be used as reverse proxy, transparent proxy (on Linux and macOS), Wireguard VPN server that also intercepts network traffic, SOCKS proxy server, customisable DNS server and even as a virtual network interface on Linux. In this article we will go through some of the lesser known mitmproxy features for uncovering what goes on between servers and clients.
Reverse proxy mode
In some cases you have a server that you want to spy on, or for some reason setting up proxy configuration on the client is not viable for your use case. To cover situations like this, mitmproxy allows you to run in reverse proxy mode. Client would access mitmproxy as if it was a real server, but mitmproxy would act as a spy in the middle between client and the server being “protected”. This is similar to a common use case of nginx server, except that it is being done for the purpose of network interception. Running mitmproxy in reverse proxy mode is rather simple on a Linux server:
$ mitmproxy --mode reverse:https://trickster.dev@443 --set block_global=false
(I ran into X.509 certificate issues when trying to do this locally on macOS.
If you run mitmproxy server locally --set block_global=false is not needed.)
However, there are things that we still must do on client side. First, we must override DNS name of the proxied target so that it resolves to proxy IP address. On Linux and Unix systems the simplest way to do so is to add a single line to /etc/hosts file, such as:
165.232.168.159 trickster.dev
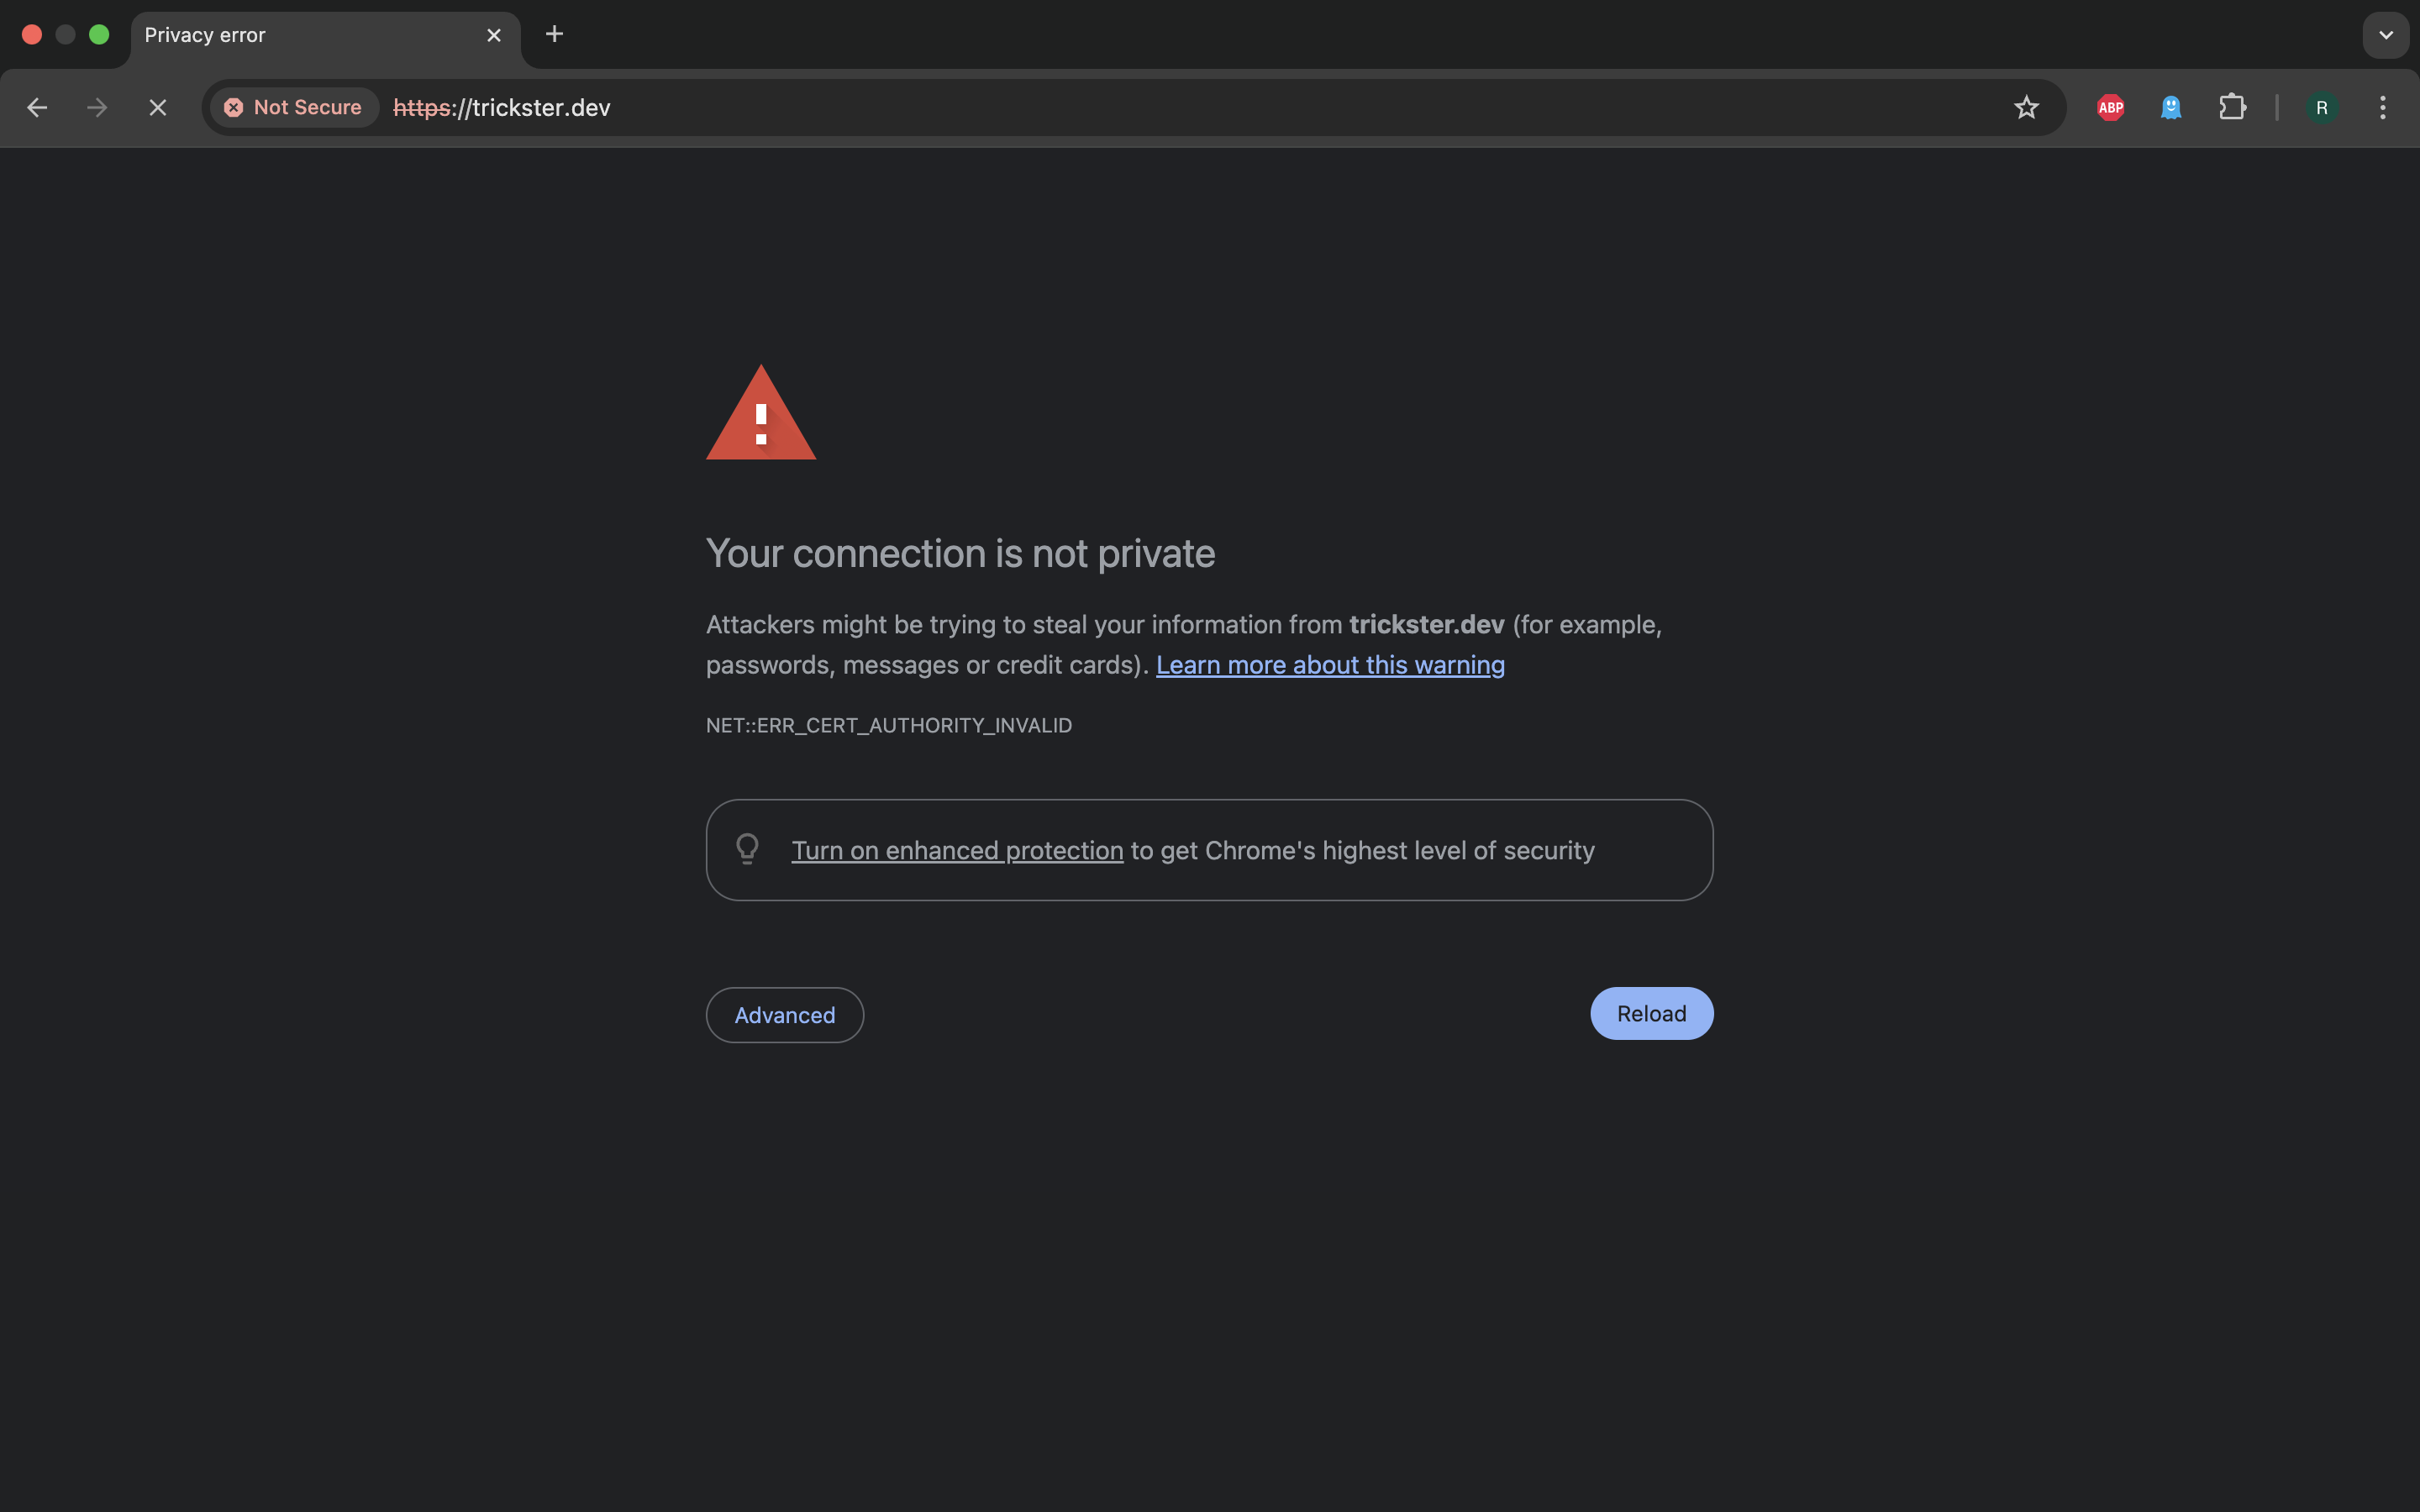
But now there’s a matter of setting up X.509 certificate generated by mitmproxy so that it is trusted by client application(s). For example, Chrome won’t let us access the proxied site if we don’t address this matter.
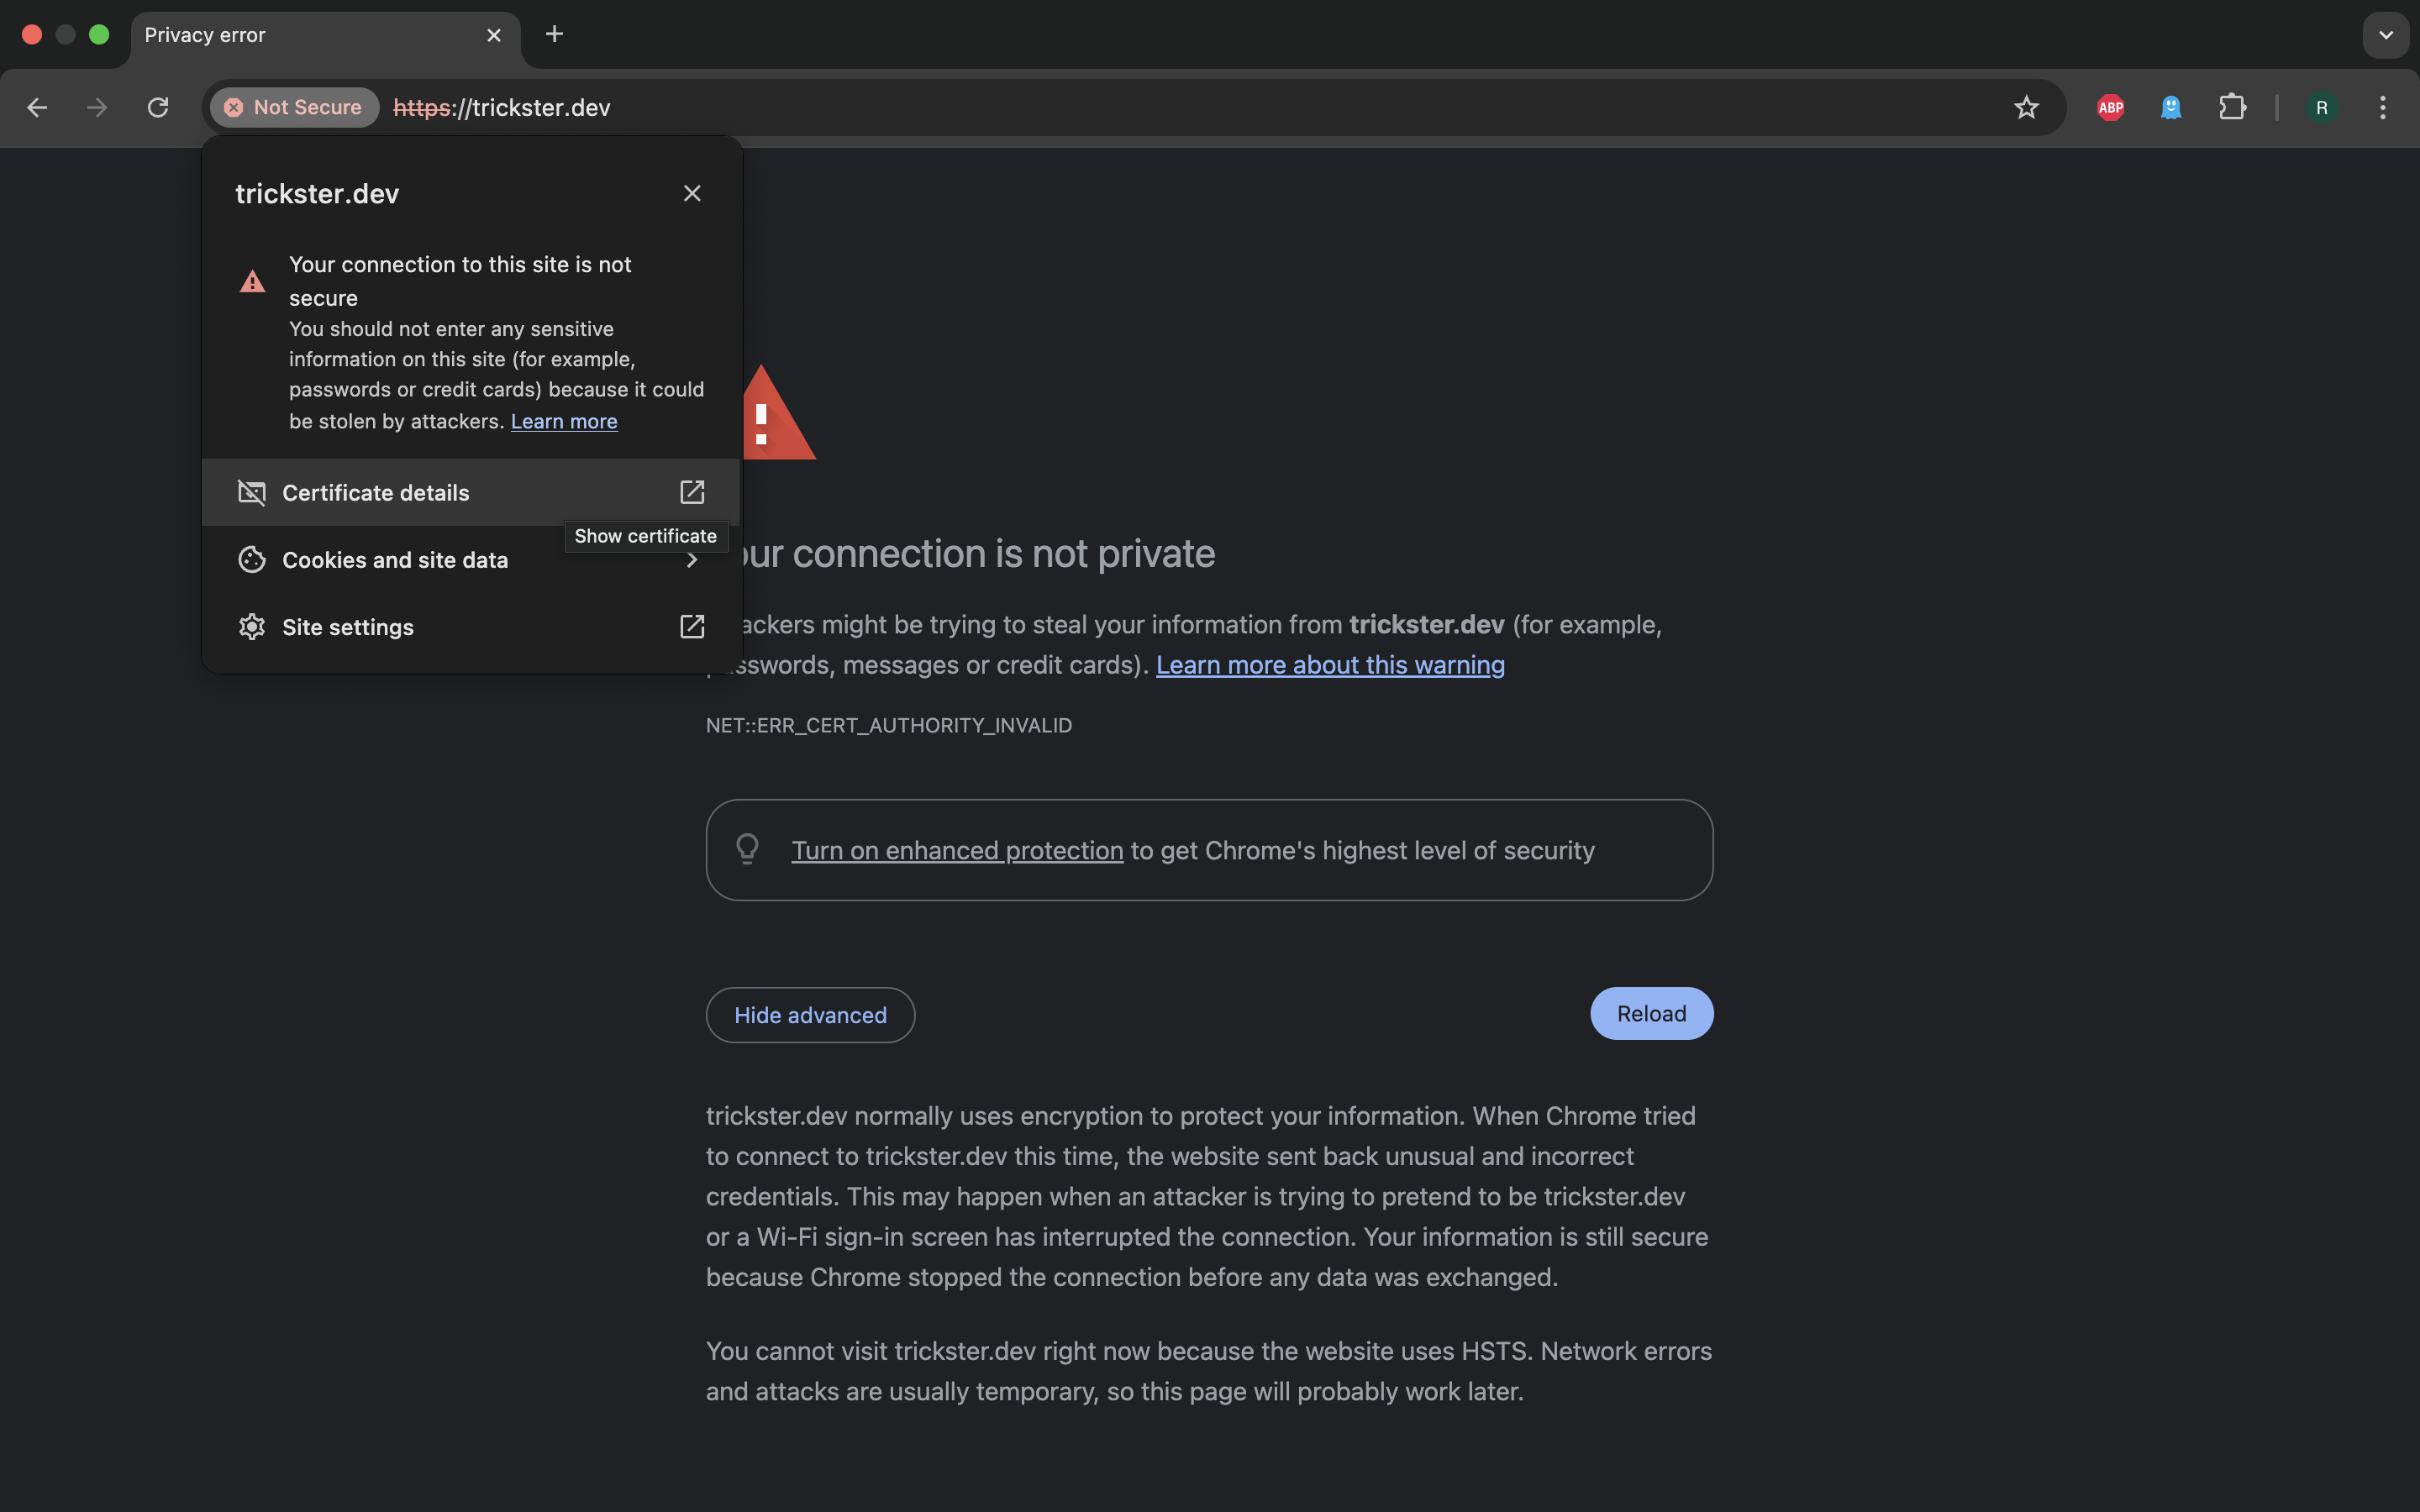
To download the certificate from mitmproxy, click the GUI element saying “Not Secure” in red, then choose “Certificate Details” out of the drop down menu.
A modal view will present information about certificate. In Details tab we can verify that it is indeed issued for the target domain and press “Export…” button to download it.
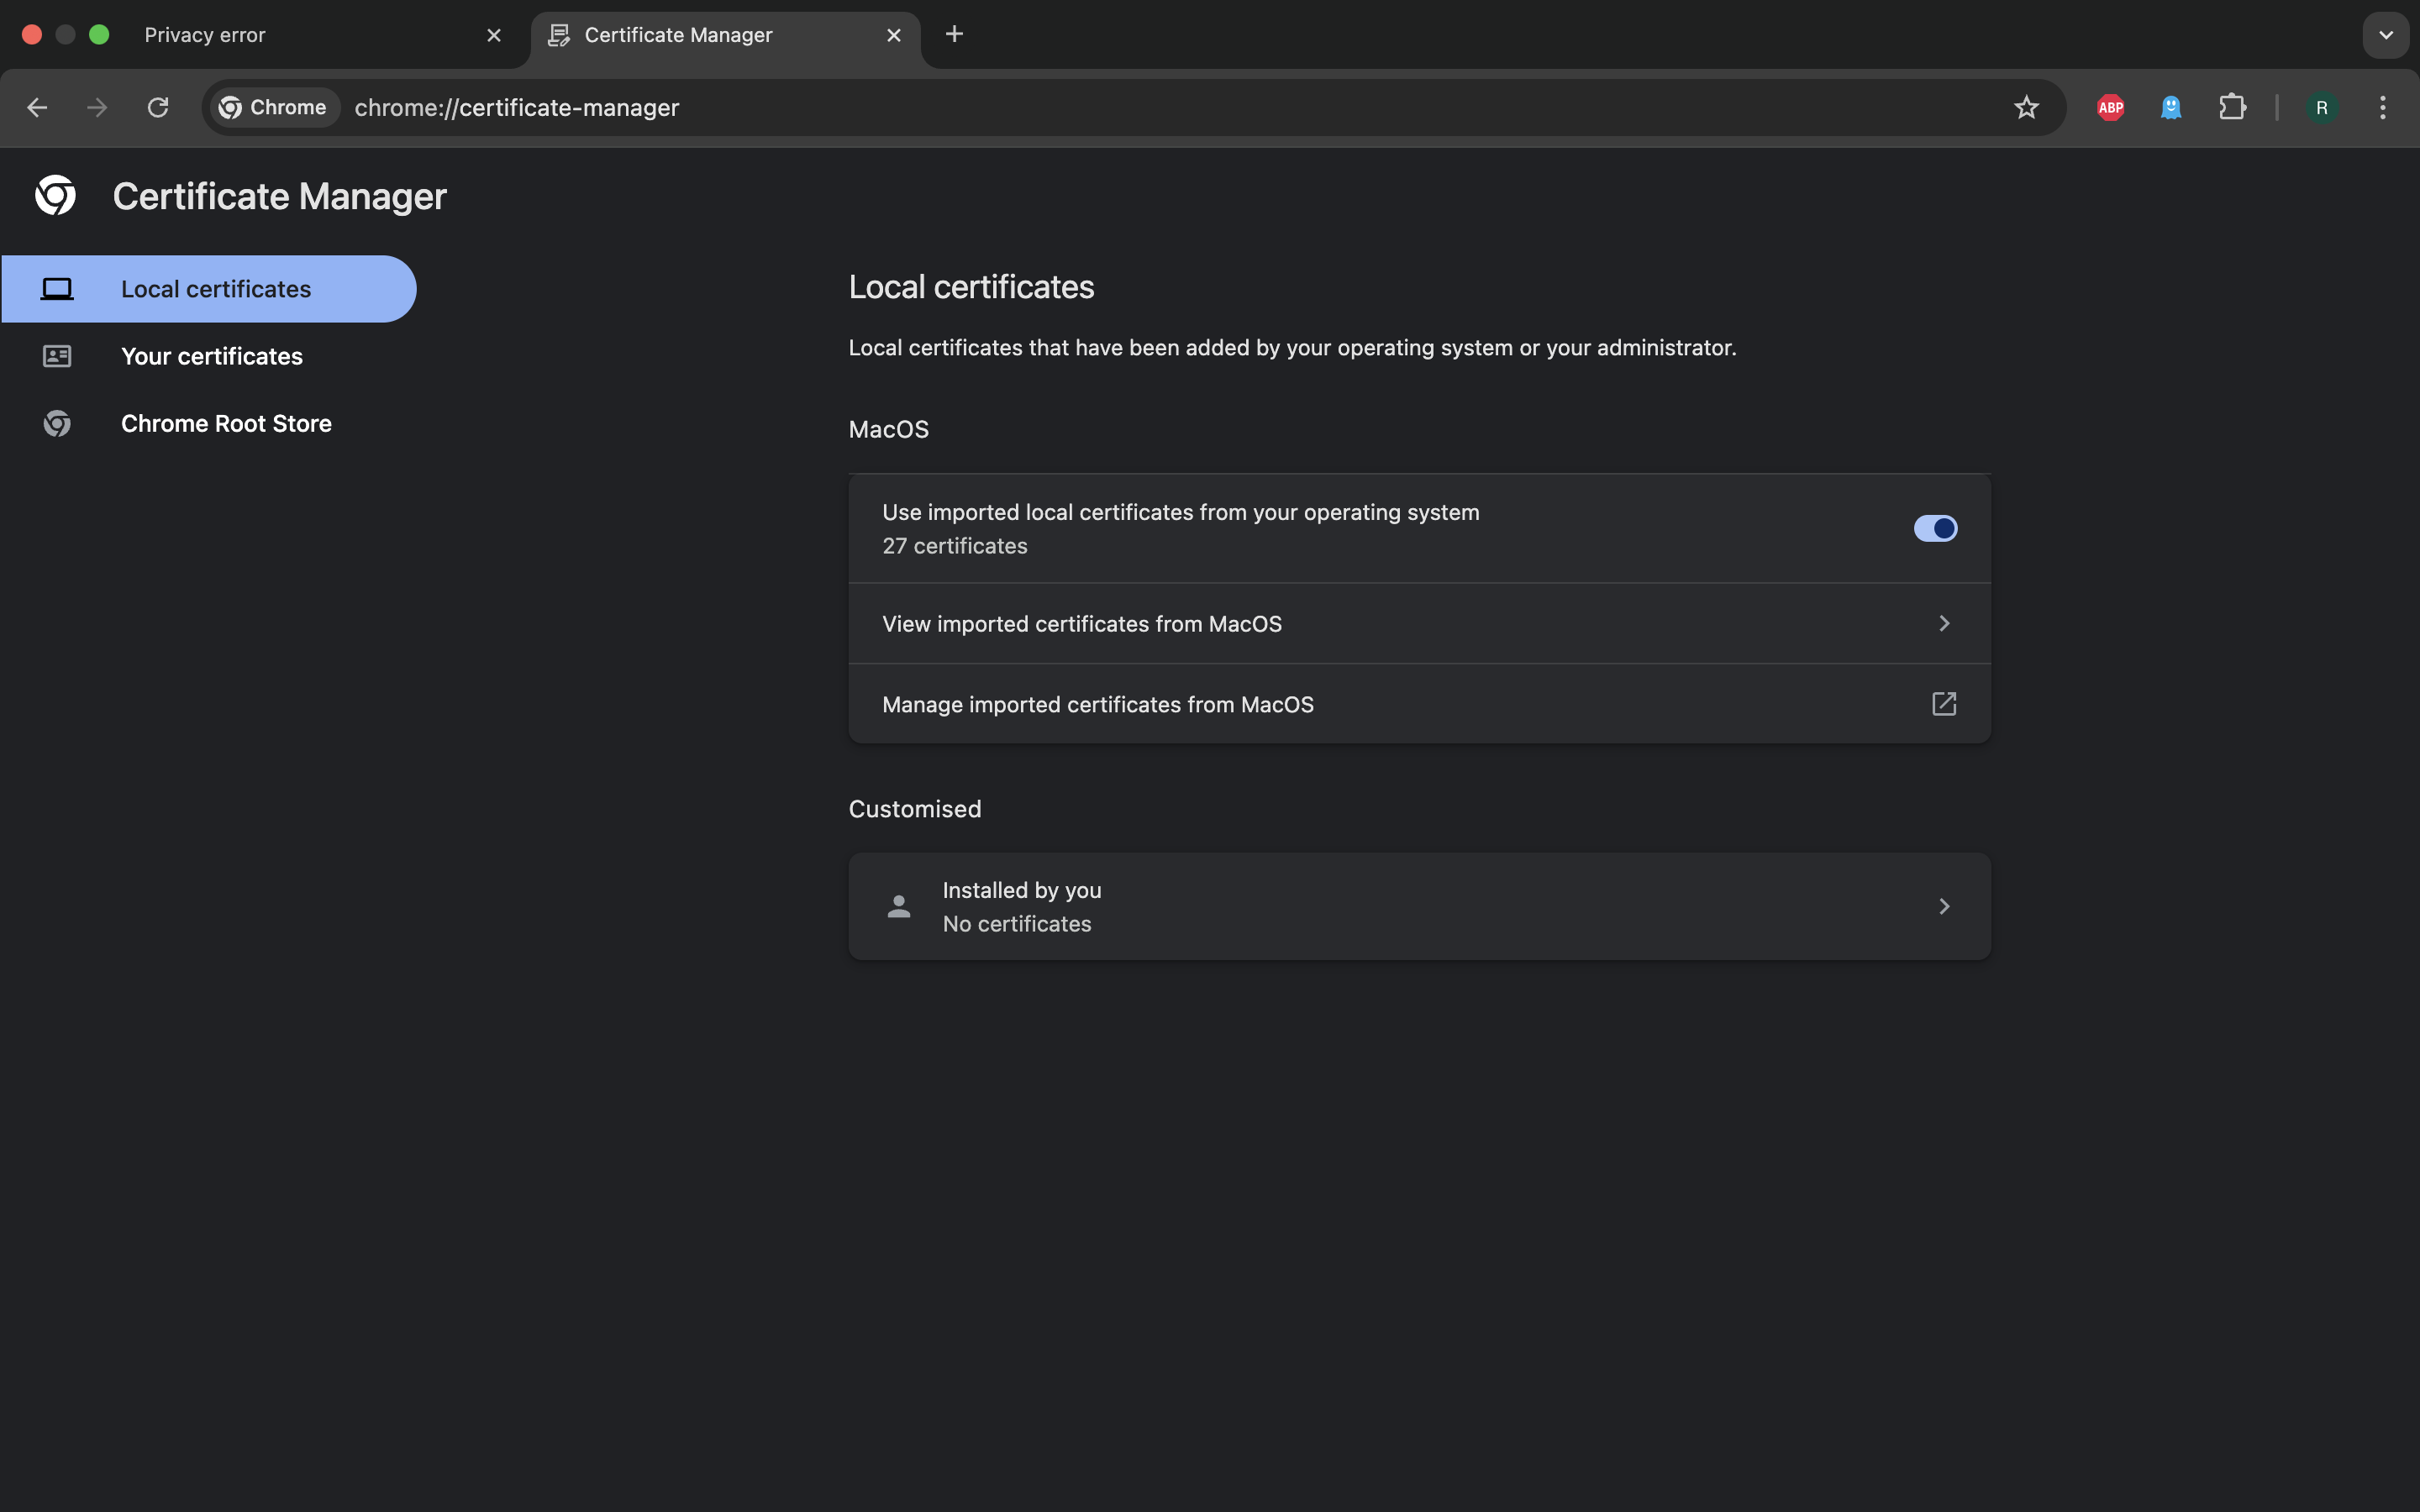
Now we need to go to chrome://certificate-manager,
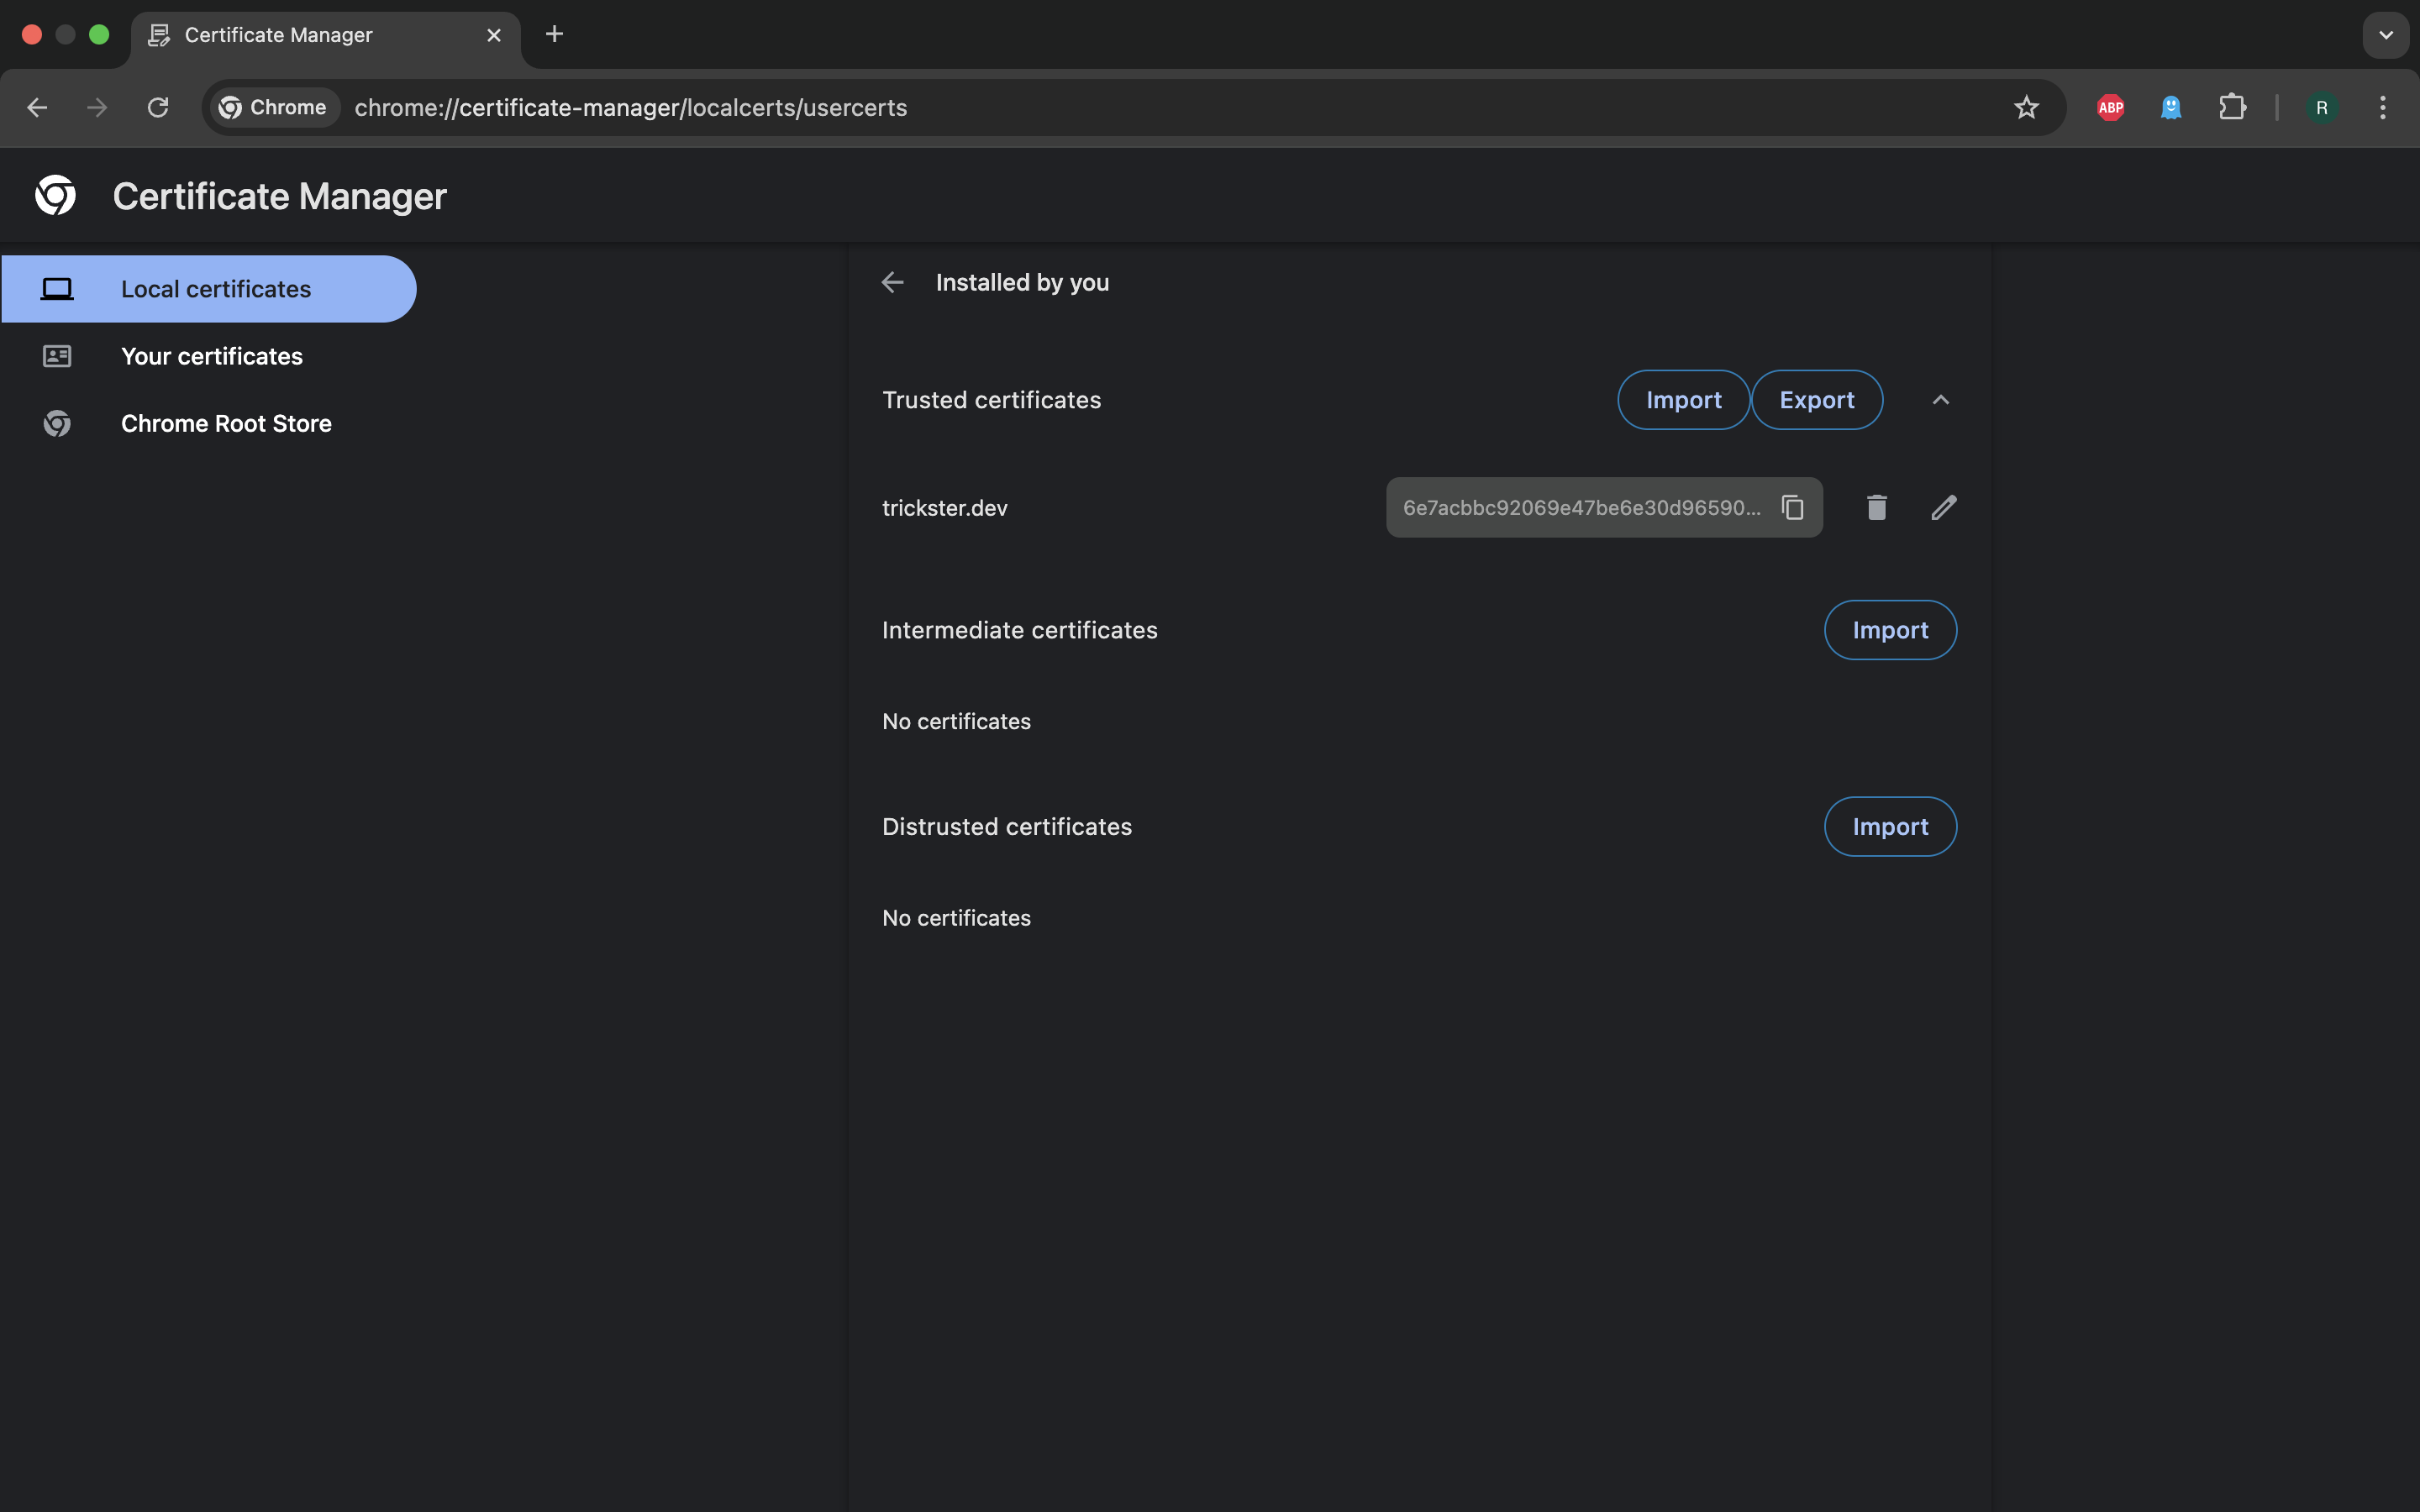
press the “Installed by you…” table row, then press the “Import” button next
to “Trusted certificates”. The GUI will present a window to pick a file from
local file system and we need to pick a certificate file we downloaded earlier.
Once we do all of this, we can use the original target address to access the site and have HTTP flows intercepted for further analysis.
Transparent proxy mode
Transparent mode involves rerouting traffic at network (IP) layer so that applications without any way to configure network proxying can be covered by traffic interception. Instructions on how to do this are provided on mitmproxy documentation page.
mitmproxy as Wireguard VPN server
The easiest way to use Wireguard mode is to choose mitmproxy web UI option:
$ mitmweb --mode wireguard
In Capture tab we will have QR code we can scan with the official WireGuard app, which will guide us through a flow of setting it up on a mobile device. However, before you do that it is best to have X.509 certificate installed by going through the default mode setup procedure or some other way, so that TLS flows can be properly intercepted.
Ff you want to use TUI instead, the WireGuard configuration will be available at
~/.mitmproxy/wireguard.conf.
This mode has an added benefit of capturing not only HTTP(S) flows, but also covering DNS and some other protocols.
SOCKS proxy mode
$ mitmproxy --mode socks5
This will launch mitmproxy as SOCKS5 server, bound to a standard port - 1080. We can try it with curl:
$ curl --socks5 localhost --head https://nike.com -k -v
* Host localhost:1080 was resolved.
* IPv6: ::1
* IPv4: 127.0.0.1
*   Trying [::1]:1080...
* Host nike.com:443 was resolved.
* IPv6: (none)
* IPv4: 13.226.69.50, 13.226.69.57, 13.226.69.98, 13.226.69.103
* SOCKS5 connect to 13.226.69.50:443 (locally resolved)
* SOCKS5 request granted.
* Connected to localhost () port 1080
<...>
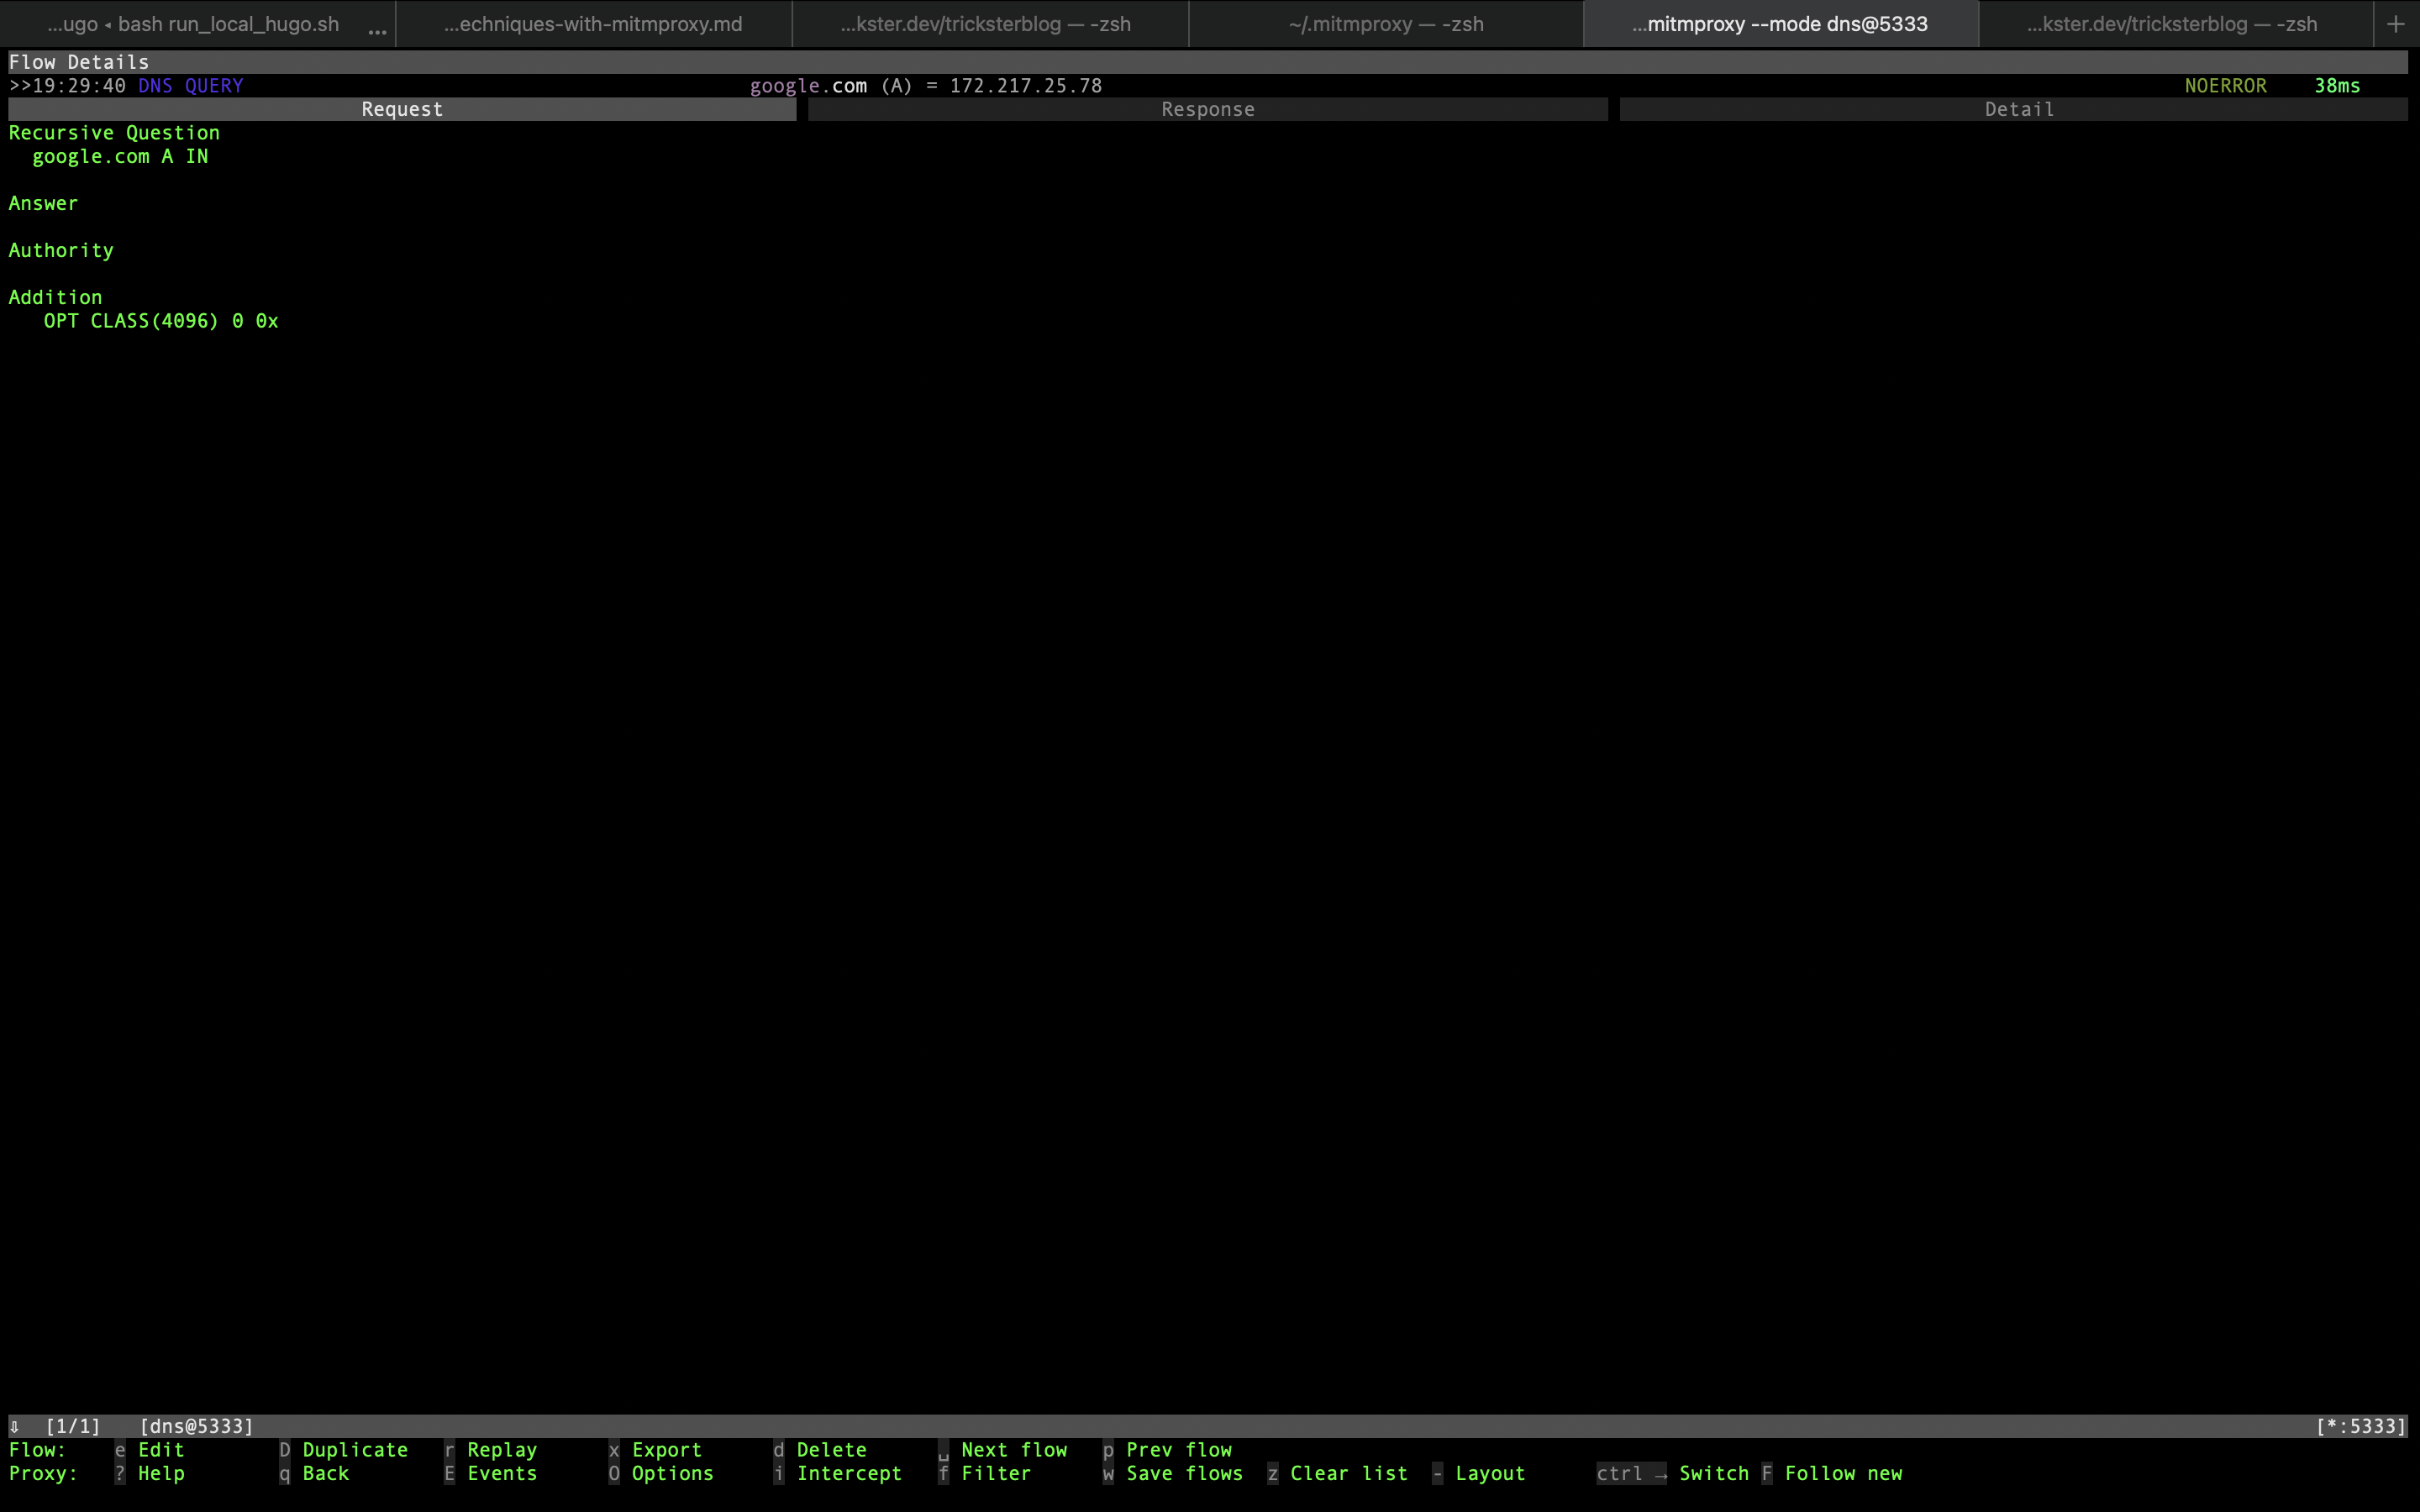
mitmproxy as DNS server
We can also use mitmproxy as a simple DNS server that implements a subset of the protocol (only A and AAAA queries) by running it in DNS mode:
$ mitmproxy --mode dns@5333
We can test it by using dnsx from ProjectDiscovery:
$ echo "google.com" | dnsx -resp -a -resolver "127.0.0.1:5333"

      _             __  __
   __| | _ __   ___ \ \/ /
  / _' || '_ \ / __| \  /
 | (_| || | | |\__ \ /  \
  \__,_||_| |_||___//_/\_\

		projectdiscovery.io

[INF] Current dnsx version 1.2.2 (latest)
google.com [A] [172.217.25.78]
Passing traffic to upstream proxy
In some cases, such as dealing with georestricted APIs, one may want to introduce a second hop to some other proxy and pass the requests there. For example:
$ mitmproxy --mode upstream:http://brd.superproxy.io:33335 --upstream-auth [REDACTED]:[REDACTED]
Value for --upstream-auth (username and password) is formatted in the same
way as --proxy-auth of curl.
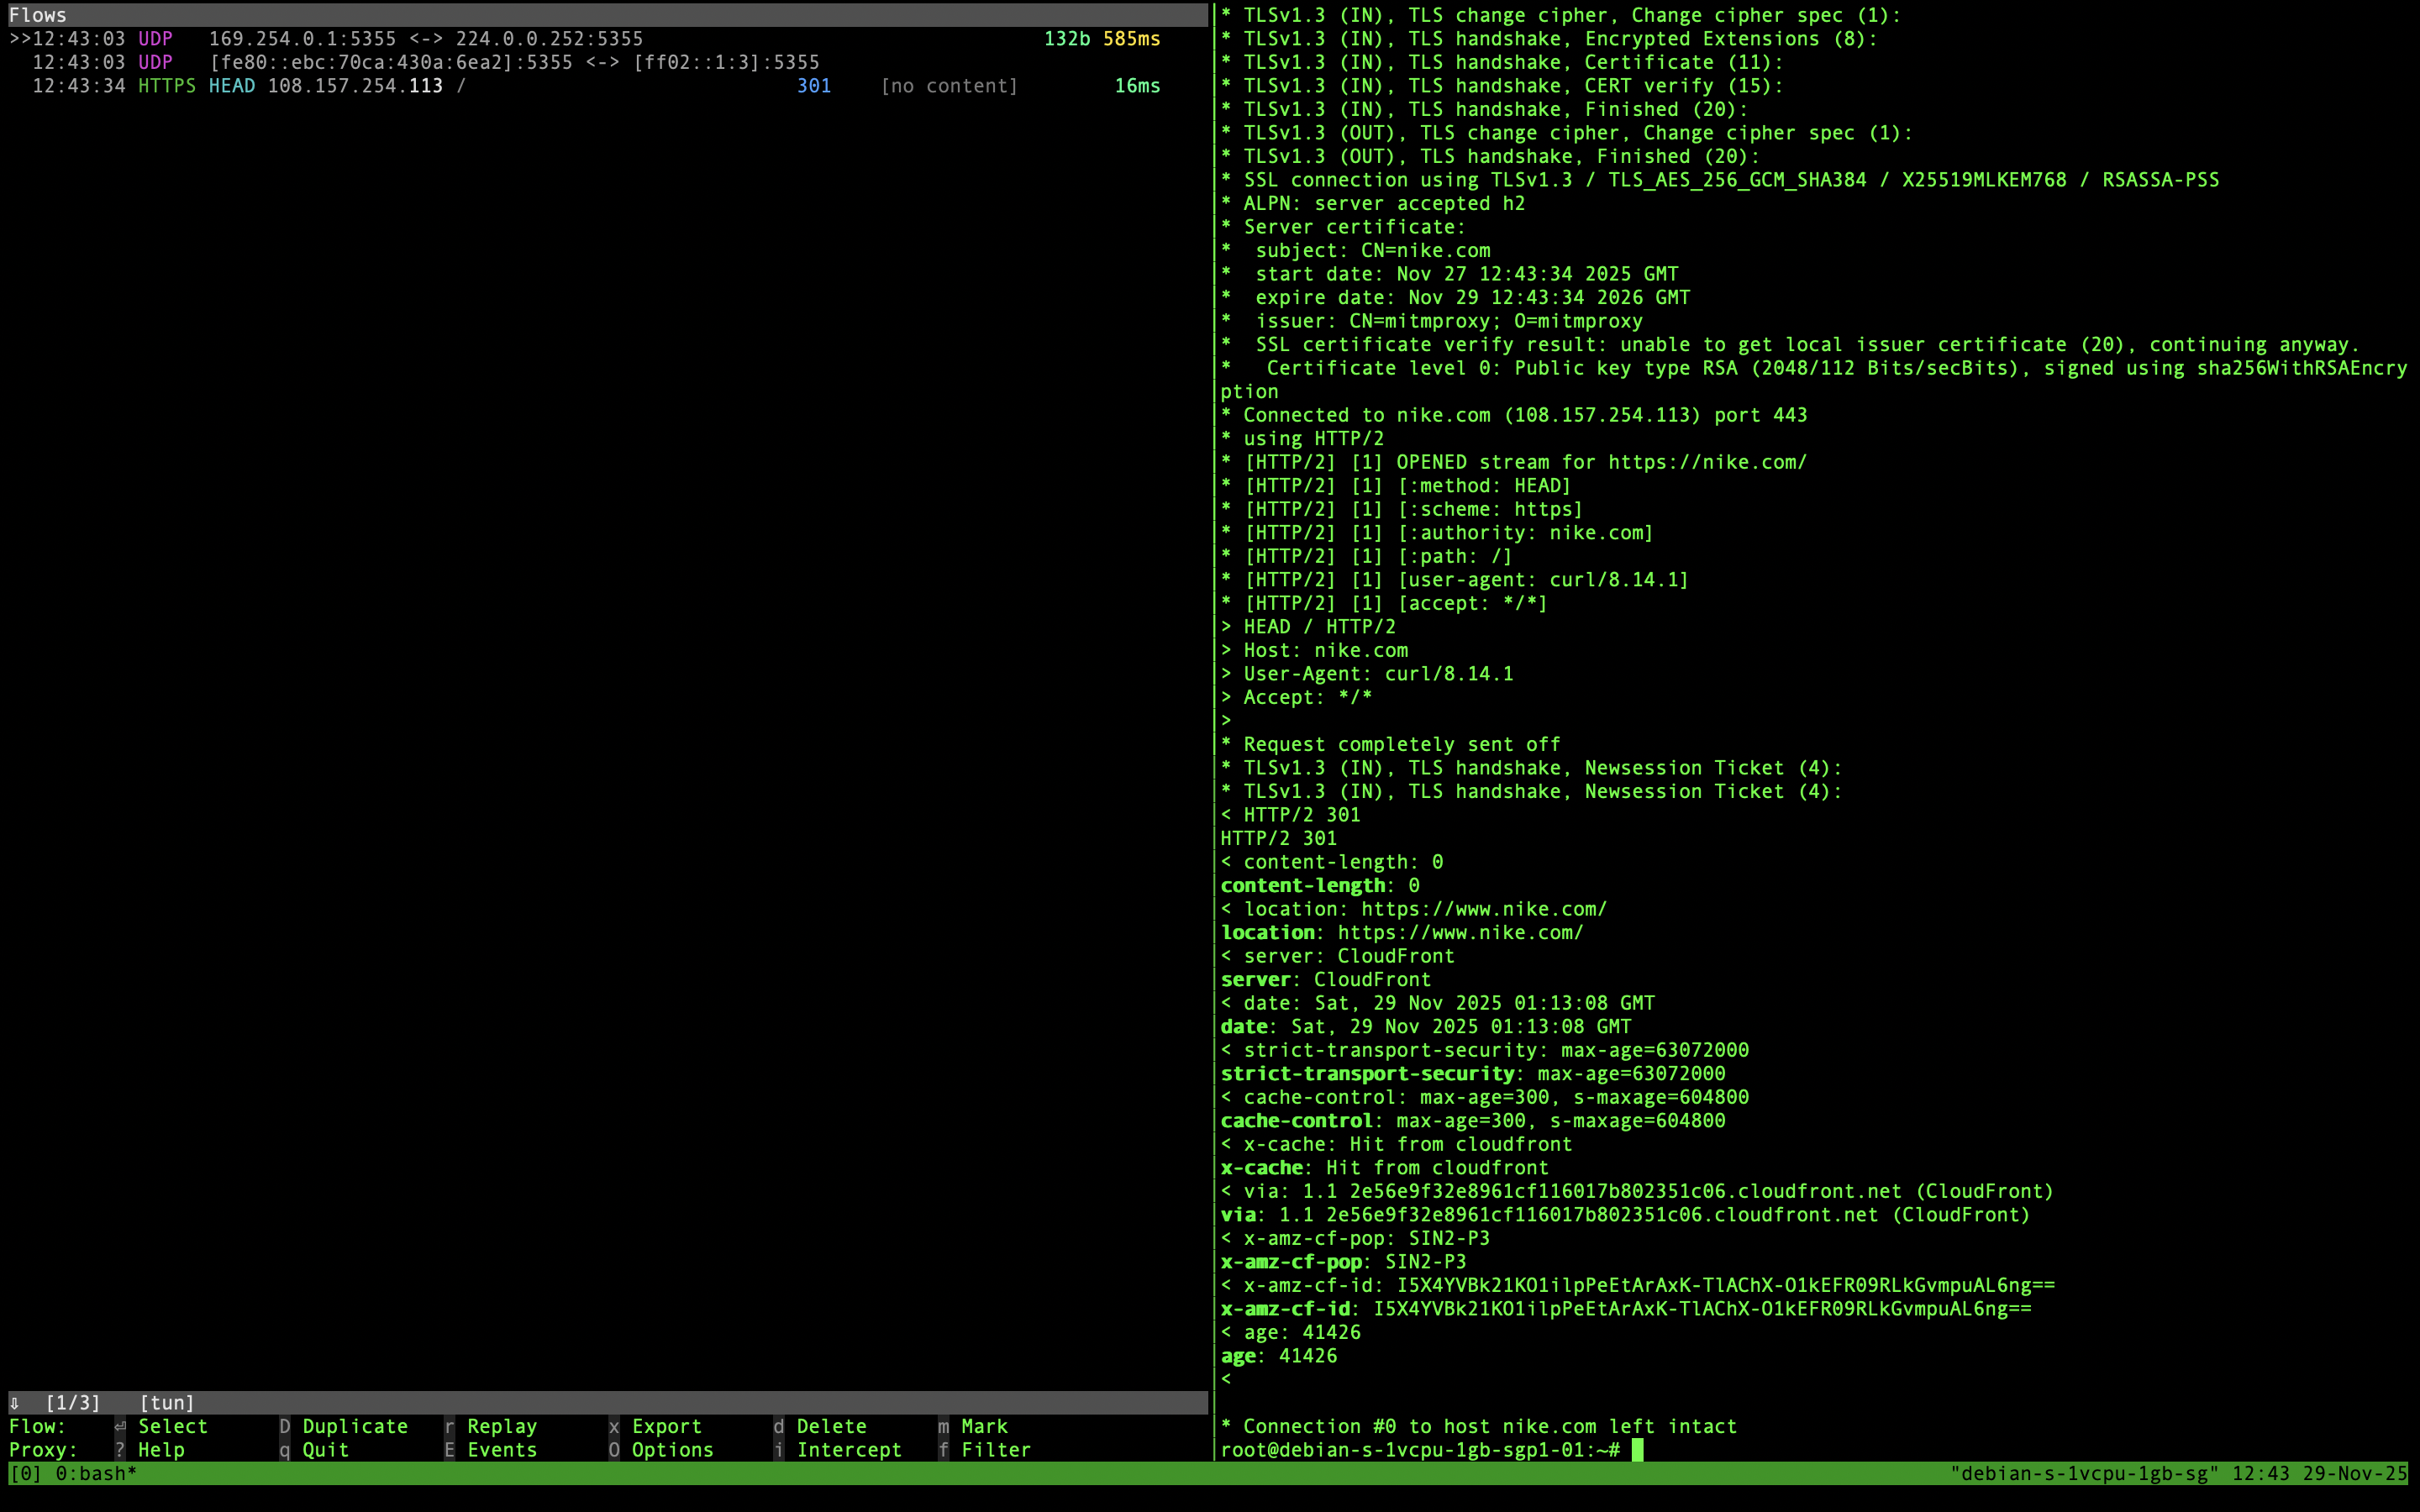
mitmproxy virtual network interface
This one will require Linux system with root access. It entails creating a virtual network interface that intercepts all traffic it passes through. For example:
$ mitmproxy --mode tun
Some programs, such as curl will let you specify a network interface it will use:
$ curl --interface tun0 --head https://nike.com -v -k
For others you will need to modify a routing table to make interception happen.